
Hey there, fellow kitchen adventurers and curious creators! Do you ever find yourself gazing out the window on a rainy day, maybe with a mug of something warm in hand, and wondering how those big, fluffy clouds actually work? Or maybe you’re just looking for a super fun, super simple activity to do with the kids (or for yourself!) that brings a little bit of science magic right into your home. Well, today, I’ve got just the thing! This ‘Rain Cloud in a Jar’ experiment is not just easy and quick; it’s also incredibly memorable and visually delightful. You’re about to become a weather wizard, creating your very own miniature rain shower right on your kitchen counter!
Why You’ll Love This Rain Cloud in a Jar Experiment
- Quick Setup: You’ll be making “rain” in minutes, perfect for short attention spans!
- Super Easy: Simple steps, simple ingredients – no complicated lab work here!
- Educational Fun: A fantastic, hands-on way to learn about weather and precipitation.
- Engaging for All Ages: From toddlers to grown-ups, everyone loves watching the rain fall!
Ingredients
Let’s gather our supplies! Most of these you probably already have stashed around the house, which makes this experiment even easier. No fancy equipment needed, just everyday items ready to be transformed into a scientific spectacle!
- 1 Clear Jar or Cup (e.g., Mason Jar): The bigger and clearer, the better for observing the magic! A classic Mason jar works perfectly.
- 1 Can Foaming Shaving Cream (not gel!): This is our cloud! Make sure it’s the fluffy, foamy kind, not the clear gel – the texture is crucial for the cloud effect.
- Water: Our atmosphere! Simple tap water is all you need to fill your jar.
- Blue Food Coloring: For our rain, of course! You can also experiment with other colors if you’re feeling wild and want a colorful storm.
- 1 Small Cup or Bowl: For mixing our “rainwater” concoction.
- 1 Dropper, Straw, or Spoon: Your trusty tool for making the rain fall. A dropper gives you the most control for those delicate drizzles!
How to Make Rain Cloud in a Jar
Alright, ready to become a meteorologist for the day? Follow these simple steps, and you’ll have your very own rain cloud in no time!
- Fill ‘Er Up! Grab your clear jar or cup and fill it about three-quarters full with water. This water represents the atmosphere beneath our cloud.
- Create Your Cloud: Give that shaving cream can a good shake-shake-shake! Then, carefully spray a thick, fluffy layer over the water’s surface. You want a nice, dense cloud sitting right on top. Don’t be shy with it!
- Mix Your Rain: In your separate small cup, add a few drops of blue food coloring. Then, add a small amount of water to it and give it a gentle stir. This creates our “rainwater” mixture. The darker the blue, the more dramatic your rain will be!
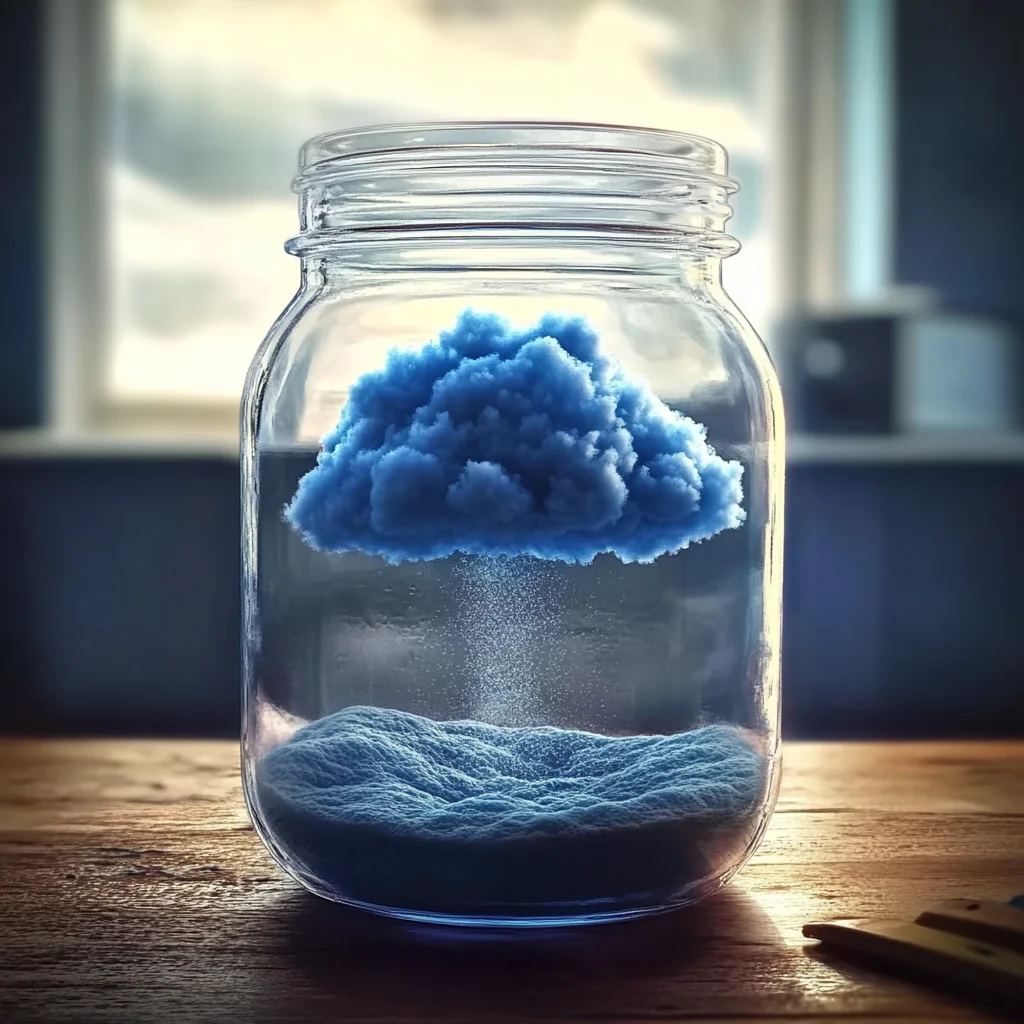
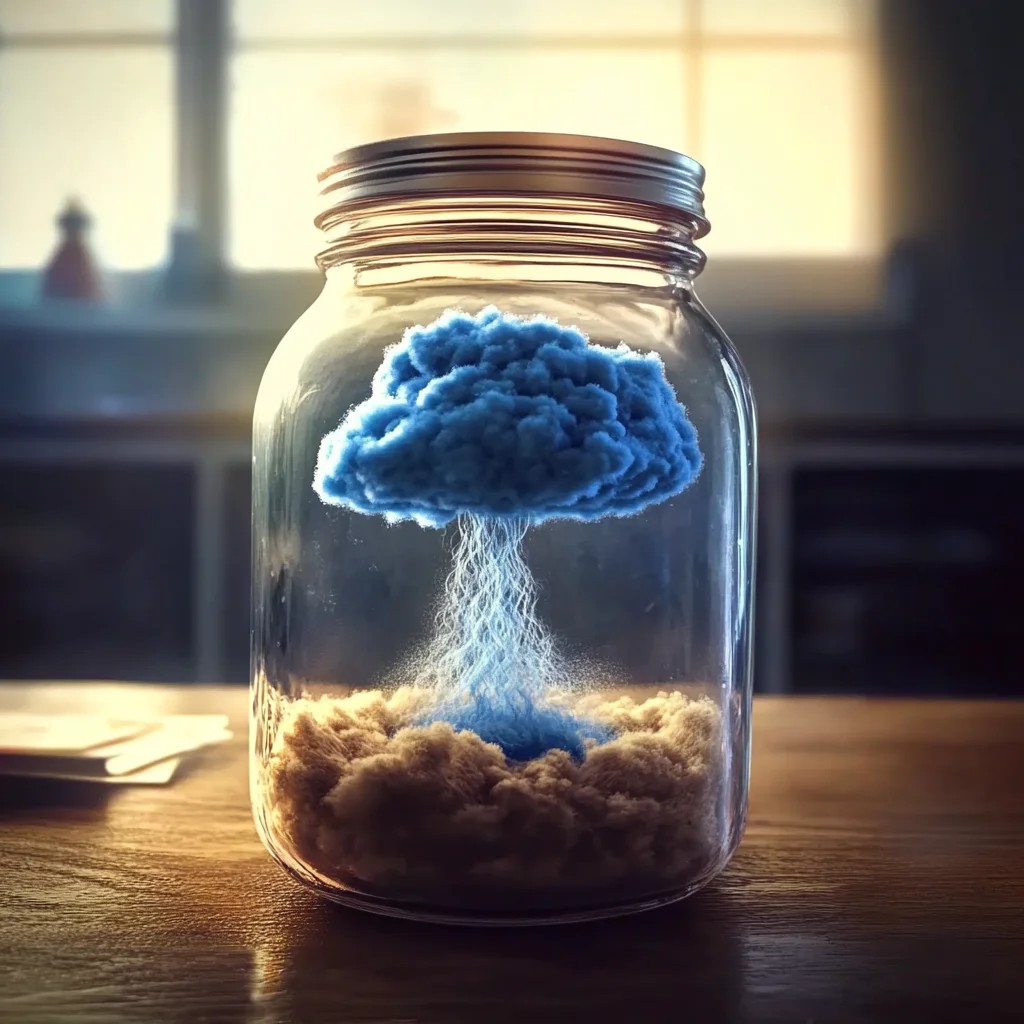
- Make it Rain! Now for the grand finale! Using your dropper, straw, or spoon, gently start dripping the blue mixture onto the shaving cream cloud. Watch what happens! As the “cloud” gets saturated with the colored water, it will eventually become too heavy, and the “rain” will start to fall through the shaving cream into the water below. It’s truly mesmerizing to see!
Substitutions & Additions
Part of the fun of science (and cooking!) is experimenting, right? Here are a few ways to switch things up and make your rain cloud unique.
- Rainbow Rain: Instead of just blue, why not mix up a few different colored food coloring solutions? You could create a vibrant rainbow shower!
- Glitter Storm: For an extra touch of sparkle, add a pinch of glitter to your colored water mixture. Imagine glittery rain falling through your cloud!
- Varying Vessels: Try using different sized jars or even a clear vase to see how the shape affects the “rain” effect.
- No Dropper? No Problem! The recipe suggests a straw or spoon, but a small plastic syringe (without the needle, of course!) from a medicine kit also works wonders for precise drops!
Tips for Success
Even though this experiment is super straightforward, a few little pointers can make all the difference for a spectacular rain show!
- Foaming is Key: Seriously, don’t use gel shaving cream! It won’t create that fluffy, cloud-like barrier you need for the “rain” to build up before falling. I learned that the hard way when my “cloud” just dissolved into the water!
- Don’t Rush the Drops: Drip the colored water slowly and patiently. This allows the “cloud” to absorb the water and get heavy, giving you that beautiful rainfall effect rather than just a quick pour.
- Mix Food Coloring Well: Ensure your food coloring is fully mixed into the small amount of water. Undissolved coloring can just sit on top of the shaving cream, not quite getting absorbed properly.
- Prep Ahead: Gather all your materials before you start. It makes the whole process smoother and more enjoyable, especially when you have eager little scientists waiting! And while we’re on the topic of easy prep, sometimes, after a fun science session, you just want an easy meal. You might enjoy whipping up some Easy Weeknight Teriyaki Chicken Casserole.
- Explore More: This experiment is also a fantastic way to introduce scientific concepts before diving into other creative kitchen projects. And if you’re looking for more quick and easy ideas, both culinary and crafty, you’ll find a treasure trove of inspiration in our main Crispy Kitchens Recipes section!
How to Enjoy and Dispose of Your Rain Cloud in a Jar
Unlike our delicious Easy Homemade Cherry Garcia Fudge, this rain cloud isn’t for eating! But it’s certainly for enjoying, learning, and then tidying up!
Once you’ve had your fill of watching the rain fall, you can simply pour the contents of your jar down the drain. The shaving cream and food coloring are generally safe for plumbing and septic systems. Give your jar a good rinse with warm, soapy water, and it’ll be ready for your next science adventure or perhaps to hold some culinary creation!
FAQs
What’s the science behind the Rain Cloud in a Jar experiment?
This experiment beautifully illustrates how rain forms! The shaving cream acts like a cloud, holding water vapor. As the “cloud” (shaving cream) absorbs more and more “water” (food coloring mixture), it eventually becomes saturated and too heavy to hold the water any longer. The water then “falls” through the cloud as “rain” into the “atmosphere” (water) below. It’s a simplified but effective visual of precipitation!
Can I use different colored food coloring?
Absolutely! Blue is traditional for rain, but you can certainly experiment with red, green, yellow, or even a mix of colors to create a rainbow effect. Science is all about exploration!
Is this experiment safe for very young children?
Yes, with adult supervision! The ingredients are non-toxic. However, very young children might try to ingest the shaving cream or food coloring, so always keep a close eye on them. It’s a fantastic sensory activity, too!
How long does the “rain” last?
The rain will continue to fall as long as there’s colored water to absorb and drip through the shaving cream. Once the shaving cream is fully saturated and all the colored water has passed through, the “rain” will stop. You can always add more colored water for an extended show!
For more kitchen fun and creative ideas, be sure to follow Crispy Kitchens on Pinterest!

Easy DIY Rain Cloud in a Jar Experiment
Ingredients
Equipment
Method
- Step 1: Fill 'Er Up! Grab your clear jar or cup and fill it about three-quarters full with water. This water represents the atmosphere beneath our cloud.
- Step 2: Create Your Cloud: Give that shaving cream can a good shake-shake-shake! Then, carefully spray a thick, fluffy layer over the water's surface. You want a nice, dense cloud sitting right on top. Don't be shy with it!
- Step 3: Mix Your Rain: In your separate small cup, add a few drops of blue food coloring. Then, add a small amount of water to it and give it a gentle stir. This creates our "rainwater" mixture. The darker the blue, the more dramatic your rain will be!
- Step 4: Make it Rain! Using your dropper, straw, or spoon, gently start dripping the blue mixture onto the shaving cream cloud. Watch what happens! As the "cloud" gets saturated with the colored water, it will eventually become too heavy, and the "rain" will start to fall through the shaving cream into the water below. It's truly mesmerizing to see!


