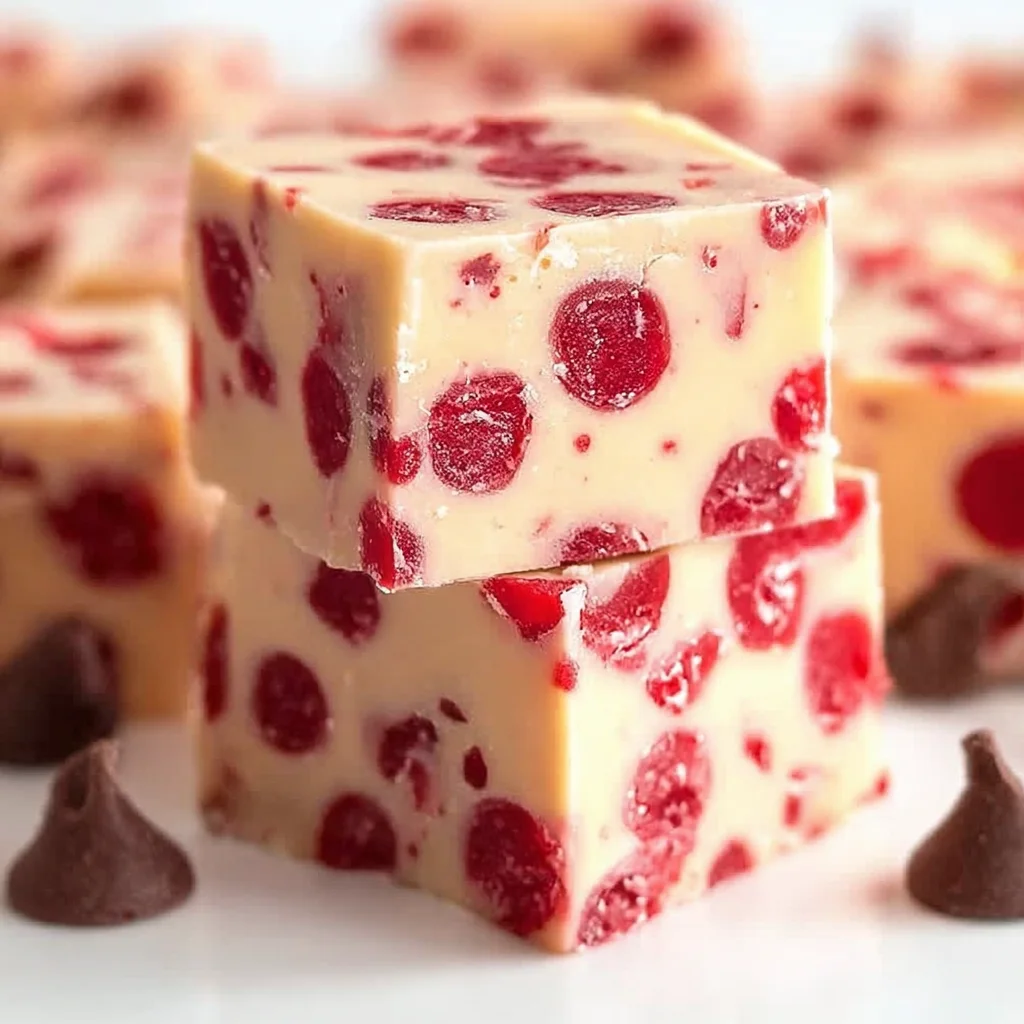
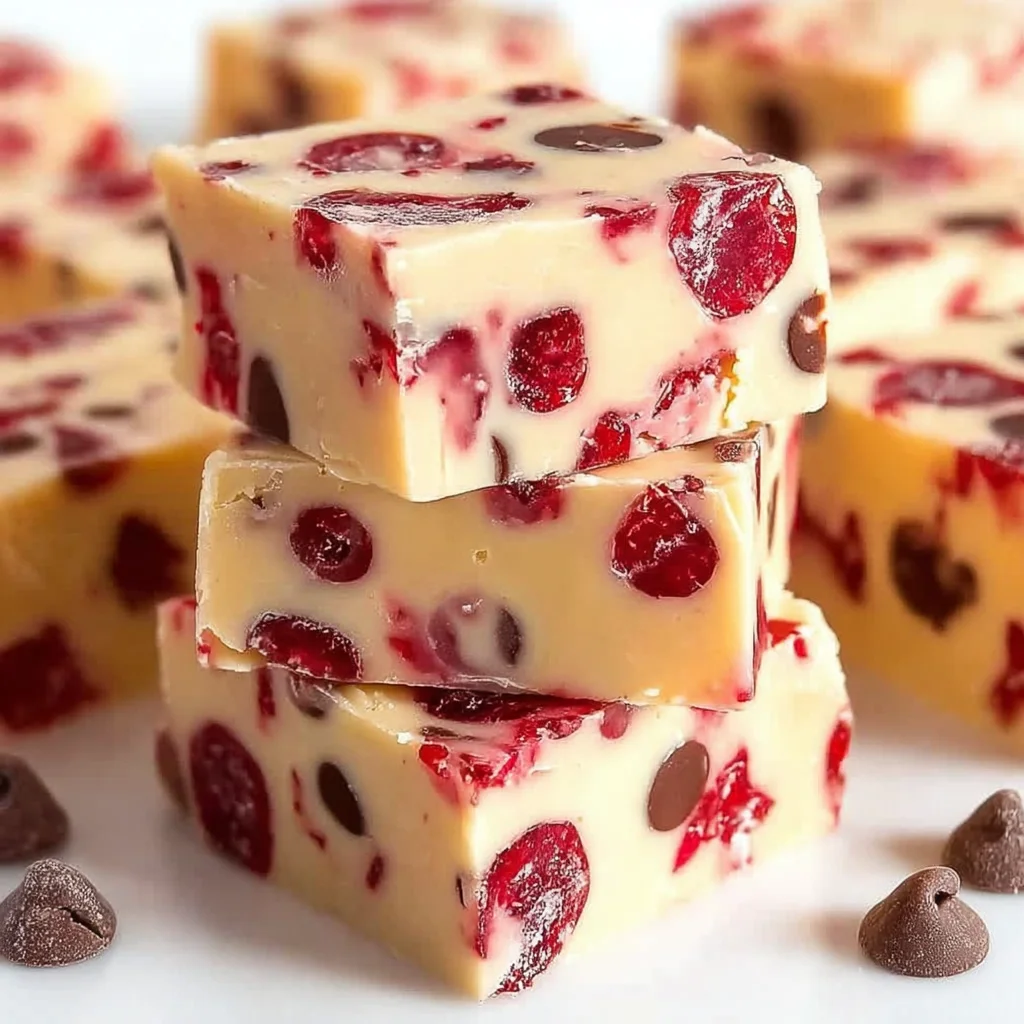
Oh friend, let me tell you about a little recipe that feels like a hug in a square. Remember that classic ice cream flavor with cherries and chocolate? This fudge is like bringing that happy feeling right into your kitchen, but without any churning! This Cherry Garcia Fudge is one of those treats that just brings a smile to your face, whether you’re making it for a special occasion, a homemade gift, or just because you need a little pick-me-up. And the best part? It’s ridiculously easy. We’re talking minimal ingredients, zero candy thermometer stress, and just a few minutes on the stovetop before it chills into pure bliss. Seriously, if you can melt chocolate, you can make this fudge!
Why You’ll Love This Recipe
- Fast: From start to finish (minus chilling time), you’re looking at maybe 10-15 minutes max. Perfect for a last-minute sweet craving or when guests are coming!
- Easy: If you’re intimidated by traditional fudge, this recipe is for you. No tricky sugar stages, just simple melting and stirring.
- Giftable: Package this up in cute boxes or bags and you’ve got a thoughtful, delicious homemade gift that everyone will adore.
- Crowd-Pleasing: Who doesn’t love the combination of chocolate and cherries? It’s a nostalgic flavor that disappears fast!
Ingredients
Gathering the ingredients for this fudge is a breeze. You probably have some of these hanging out in your pantry right now!
- 3 cups semi-sweet chocolate chips: Grab your favorite brand! Semi-sweet gives you that classic fudge richness.
- 1 (14 oz) can sweetened condensed milk: This is the magic ingredient that makes this fudge so easy and smooth. Make sure it’s sweetened condensed milk, not evaporated milk!
- 1 teaspoon vanilla extract: A little splash of vanilla enhances all those chocolatey flavors.
- 1 cup maraschino cherries, drained and chopped: Those bright red beauties! Make sure you drain them really well and chop them into small pieces so they’re distributed nicely.
- 1/2 cup chopped walnuts (optional): If you love a little crunch with your fudge, walnuts are classic here. But feel free to skip them if nuts aren’t your thing or if you have allergies!
- 1/4 teaspoon salt: Just a tiny pinch of salt helps balance the sweetness and brings out the chocolate flavor. Don’t skip it!
How to Make It
Alright, let’s get cooking! This is truly a simple process.
- Get your pan ready: First things first, grab an 8×8-inch baking dish. Line it with parchment paper or foil, leaving a little extra hanging over the sides. This is going to be your best friend when it’s time to lift the fudge out and cut it. Trust me on this!
- Melt the good stuff: In a medium saucepan, combine your semi-sweet chocolate chips and the can of sweetened condensed milk. Place this over low heat. This is important! Low and slow is the way to go to prevent the chocolate from scorching. Stir continuously with a spatula or wooden spoon until everything is completely melted and smooth as can be. It will be thick and glossy.
- Stir in the flavor: Once the chocolate and milk are smooth, remove the pan from the heat. Stir in the vanilla extract and that little pinch of salt. Give it a good stir to make sure it’s all mixed in.
- Add the mix-ins: Now for the stars of the show – the cherries and walnuts! Gently fold the chopped cherries and walnuts (if you’re using them) into the chocolate mixture. Stir just until they’re evenly distributed throughout the fudge. Don’t overmix!
- Pour and smooth: Pour the glorious mixture into your prepared 8×8-inch pan. Use a spatula to spread it out evenly and smooth the top. Give the pan a gentle tap or two on the counter. This helps settle the fudge and gets rid of any sneaky air bubbles.
- Chill out: Pop the pan into the refrigerator. Let it chill for at least 2 hours, or until it’s completely firm. You can even leave it overnight if you’re making it ahead. Patience is a virtue here, but it’s worth it!
- Cut and enjoy! Once the fudge is set, use the parchment paper or foil overhang to lift the entire block of fudge out of the pan. Place it on a cutting board. Use a sharp knife to cut it into squares. I usually go for 1-inch squares, but you can make them whatever size you like!
Substitutions & Additions
Want to get creative? Here are a few ideas to tweak this recipe:
- Switch the chocolate: While semi-sweet is classic, you could try this with dark chocolate chips for a richer flavor, or even milk chocolate chips for a sweeter fudge. A mix of dark and semi-sweet is also lovely!
- Nut swaps: Not a fan of walnuts? Pecans or chopped almonds would be delicious in their place.
- Extra flavors: Add a few drops of almond extract along with the vanilla for a complementary cherry flavor. Or, try a tiny bit of cherry extract if you want the cherry flavor to really pop!
- Chocolate drizzle: Once the fudge is set but before cutting, you could melt a little white chocolate and drizzle it over the top for extra fanciness.
- Crunchy additions: A few graham cracker crumbs or crushed shortbread cookies folded in with the cherries and nuts could add a fun texture.
Tips for Success
This recipe is super forgiving, but here are a couple of tips to make sure your fudge turns out perfectly every time:
- Low and Slow Melting: I can’t stress this enough! Keep the heat on low when melting the chocolate and condensed milk. If it’s too high, the chocolate can seize or burn, which makes for sad, grainy fudge.
- Drain Those Cherries! Excess liquid from the maraschino cherries can make your fudge not set properly. Make sure they are really well-drained and patted dry with a paper towel before chopping and adding them.
- Lining is Non-Negotiable: Seriously, don’t skip lining the pan. It makes removal and cutting so incredibly easy.
- Sharp Knife for Cutting: For clean cuts, use a sharp knife. You can also run the knife under hot water and dry it between cuts if the fudge is sticking.
- Prep Ahead: This fudge is perfect for making a day or two before you need it. Just keep it chilled in the fridge until you’re ready to cut and serve.
How to Store It
Once your fudge is cut, store it in an airtight container. You can layer the pieces with parchment paper if you’re stacking them so they don’t stick together.
This type of fudge keeps well in the refrigerator for up to 2 weeks. It can also be stored at room temperature for about a week, but I personally find it holds its shape best and has a lovely firm texture when kept chilled, especially with the cherries.
Want to store it longer? Fudge freezes beautifully! Place the cut pieces in an airtight container or freezer-safe bag, separating layers with parchment paper. It will last in the freezer for 2-3 months. Just let it thaw in the refrigerator or at room temperature before enjoying.
FAQs
Here are a couple of questions people often ask about this easy fudge:
Can I use different chocolate?
Yes! While the recipe calls for semi-sweet, you can experiment with dark or milk chocolate chips, or even a mix. Just know that the sweetness level will change slightly.
My fudge seems a little soft, what did I do wrong?
The most common reasons are not draining the cherries well enough (extra liquid!) or not chilling it long enough. Make sure you drain those cherries really well and give it ample time in the fridge to firm up completely.
Can I make this without nuts?
Absolutely! The walnuts are optional. Just omit them entirely if you prefer plain Cherry Garcia Fudge.
Do I need a double boiler to melt the chocolate?
Nope! Using a medium saucepan directly over low heat and stirring constantly works perfectly for this recipe. Just keep that heat low to avoid scorching.
Easy Homemade Cherry Garcia Fudge
Ingredients
Equipment
Method
- Step 1: Get your pan ready: First things first, grab an 8x8-inch baking dish. Line it with parchment paper or foil, leaving a little extra hanging over the sides. This is going to be your best friend when it's time to lift the fudge out and cut it. Trust me on this!
- Step 2: Melt the good stuff: In a medium saucepan, combine your semi-sweet chocolate chips and the can of sweetened condensed milk. Place this over low heat. This is important! Low and slow is the way to go to prevent the chocolate from scorching. Stir continuously with a spatula or wooden spoon until everything is completely melted and smooth as can be. It will be thick and glossy.
- Step 3: Stir in the flavor: Once the chocolate and milk are smooth, remove the pan from the heat. Stir in the vanilla extract and that little pinch of salt. Give it a good stir to make sure it's all mixed in.
- Step 4: Add the mix-ins: Now for the stars of the show – the cherries and walnuts! Gently fold the chopped cherries and walnuts (if you're using them) into the chocolate mixture. Stir just until they're evenly distributed throughout the fudge. Don't overmix!
- Step 5: Pour and smooth: Pour the glorious mixture into your prepared 8x8-inch pan. Use a spatula to spread it out evenly and smooth the top. Give the pan a gentle tap or two on the counter. This helps settle the fudge and gets rid of any sneaky air bubbles.
- Step 6: Chill out: Pop the pan into the refrigerator. Let it chill for at least 2 hours, or until it's completely firm. You can even leave it overnight if you're making it ahead. Patience is a virtue here, but it's worth it!
- Step 7: Cut and enjoy! Once the fudge is set, use the parchment paper or foil overhang to lift the entire block of fudge out of the pan. Place it on a cutting board. Use a sharp knife to cut it into squares. I usually go for 1-inch squares, but you can make them whatever size you like!