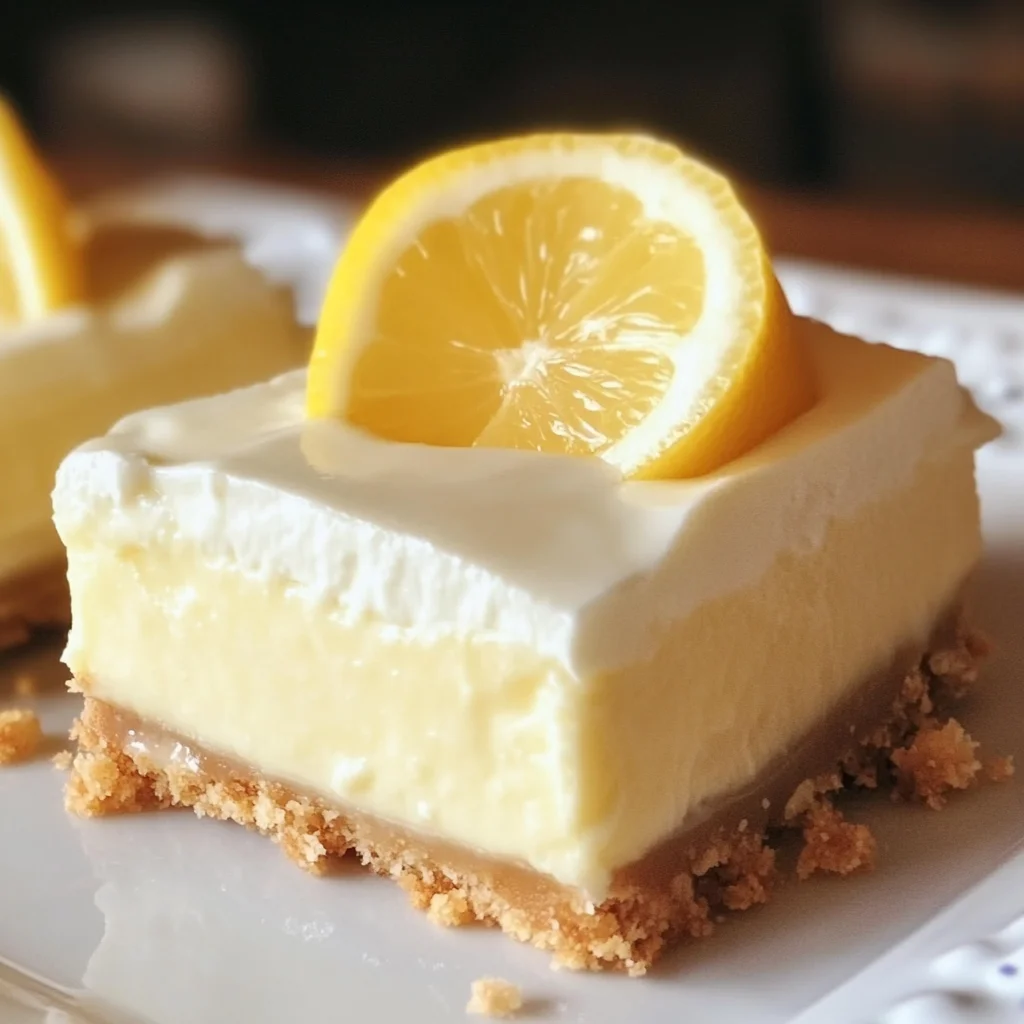
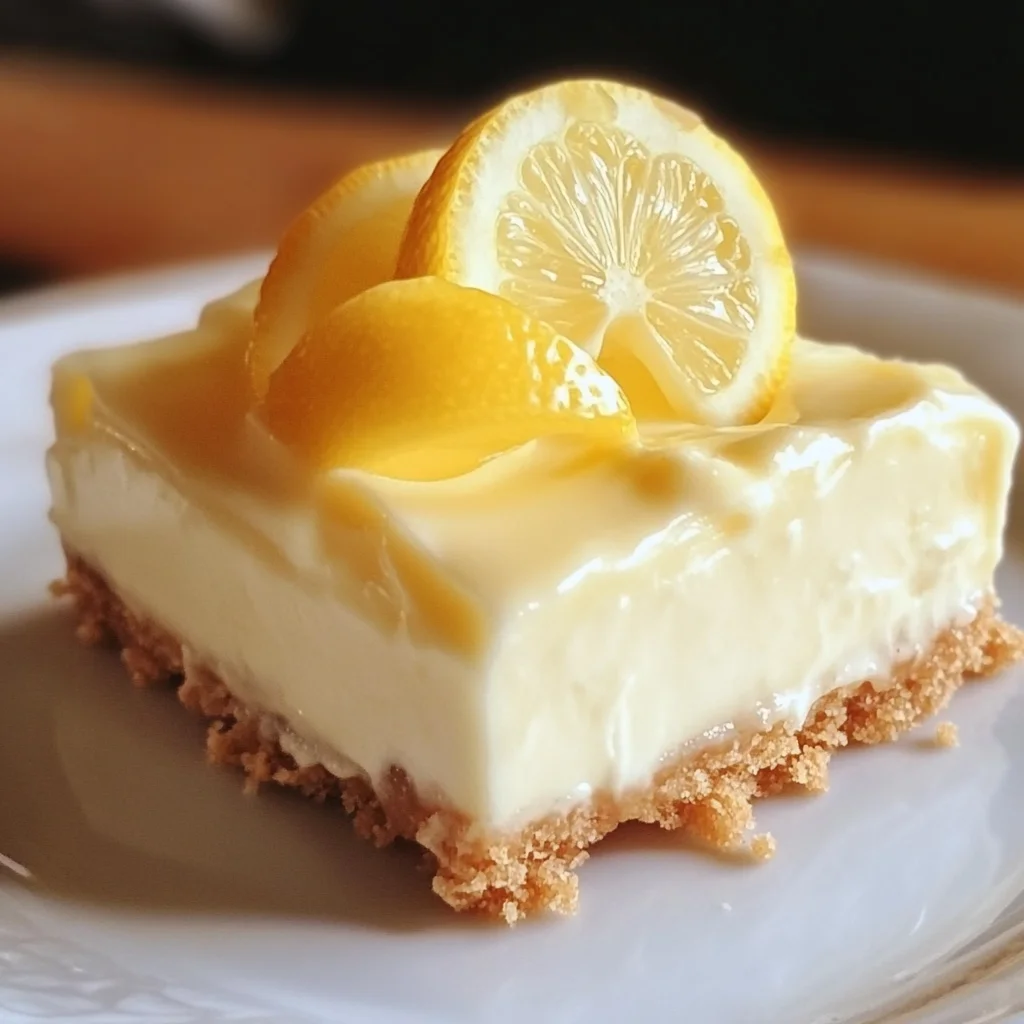
Oh my goodness, do I have a treat for you today! Sometimes, you just need a dessert that screams sunshine and happiness, right? Something bright, tangy, and utterly creamy without turning on the oven. That’s where these incredible No Bake Lemon Cheesecake Bars come in. They remind me of lazy summer afternoons or bringing a special treat to a friend’s house without all the fuss. If you’re looking for a dessert that’s ridiculously easy but tastes like you fussed for hours, you are in the absolute right place. Seriously, these are SO simple, you’ll wonder where they’ve been all your life!
Why You’ll Love This Recipe
Let’s be real, who has endless time to bake complicated things? Not me, most days! And that’s why these bars are a total winner. Here’s why you’ll fall head over heels:
- Fast: Whipping up the filling and crust takes mere minutes. The hardest part is waiting for it to chill!
- Easy: No oven required! Just simple mixing, pressing, and chilling. Perfect for beginner bakers or anyone wanting a stress-free dessert.
- Giftable: Slice these up, arrange them on a plate, and they make a beautiful, thoughtful gift for neighbors, friends, or party hosts.
- Crowd-pleasing: The combination of tangy lemon and sweet, creamy cheesecake is universally loved. These disappear fast at potlucks and parties!
Ingredients
Gathering your ingredients is super simple for this recipe. Most of these are likely already in your pantry or just a quick trip away. Here’s what you’ll need:
- 2 cups graham cracker crumbs: You can buy pre-crushed crumbs or crush a box of graham crackers yourself (a food processor or a Ziploc bag and a rolling pin work great!).
- ½ cup unsalted butter, melted: This binds our crust together perfectly. Unsalted gives you control over the saltiness.
- 2 (8 oz) packages cream cheese, softened: This is the heart of our cheesecake! Make sure it’s properly softened to avoid lumps – leave it on the counter for an hour or two, or microwave it very gently for a few seconds.
- 1 (14 oz) can sweetened condensed milk: This magical ingredient provides sweetness and thickens the filling beautifully without any baking.
- ½ cup lemon juice: Freshly squeezed lemon juice gives you the best, brightest flavor. Trust me on this one!
- 1 tablespoon lemon zest: Don’t skip this! The zest holds so much of the lemon oil and intense flavor that really makes these bars sing.
- 1 teaspoon vanilla extract: Just a touch to round out the flavors.
- Whipped cream and lemon slices for garnish: Totally optional, but they make the bars look extra special and add a lovely finishing touch.
How to Make It
Okay, ready? This is the fun part because it’s so quick! Let’s get these sunny bars made.
- Get the Crust Ready: Grab a medium-sized bowl. Pour in those graham cracker crumbs. Now, drizzle in the glorious melted butter. Stir it all together with a fork or spoon until every crumb is coated and it looks like wet sand.
- Press into the Pan: Take a 9×13-inch baking dish. Pour the crumb mixture into the bottom. Use the bottom of a glass or a flat measuring cup to press the crumbs down firmly and evenly into a compact layer. Make sure you get into the corners! This is your delicious foundation.
- Make the Creamy Filling: In a separate, larger bowl (or the bowl of your stand mixer), add the softened cream cheese. Beat it with an electric mixer until it’s super smooth and there are no lumps. Now, gradually pour in the sweetened condensed milk while mixing. Scrape down the sides as needed.
- Add the Lemon Goodness: With the mixer on low speed, pour in the fresh lemon juice, add the lemon zest, and the vanilla extract. Mix just until everything is well combined and the filling is smooth and creamy. Don’t overmix at this stage!
- Assemble the Layers: Gently pour the beautiful lemon cheesecake filling over the graham cracker crust in the baking dish. Use a spatula or the back of a spoon to spread it out evenly into one smooth layer.
- Chill Out: This is arguably the hardest step – waiting! Cover the dish tightly with plastic wrap. Place it in the refrigerator for at least 4 hours. I honestly think chilling it overnight is even better if you can wait, as it allows the filling to set up perfectly.
- Slice and Serve: Once the cheesecake is completely set and firm, take it out of the fridge. Use a sharp knife to slice the cheesecake into bars. For cleaner cuts, you can run your knife under hot water and wipe it clean between slices. Top each bar with a dollop of whipped cream and a pretty lemon slice just before serving, if you like!
Substitutions & Additions
Feeling creative? Want to use what you have on hand? Here are a few ideas to mix things up:
- Different Crust: Not a graham cracker fan? Try using crushed vanilla wafers, shortbread cookies, or even gingersnaps for a different flavor profile.
- Add Some Spice: A pinch of cinnamon or nutmeg in the graham cracker crust can add a lovely warmth.
- Mix-Ins: Gently fold in some fresh berries (like raspberries or blueberries) into the filling just before pouring it over the crust.
- Swirl it Up: Warm up some raspberry or strawberry jam and swirl it gently into the top of the filling before chilling.
- Other Citrus: You could try using lime juice and zest for a Key Lime vibe, or a mix of lemon and lime!
- Toppings Galore: Drizzle with white chocolate, sprinkle with toasted coconut, or add more fresh fruit on top before serving.
Tips for Success
Making no-bake cheesecake is pretty forgiving, but a few little tricks can ensure yours turns out absolutely perfect every time:
- Softened Cream Cheese is Key: I know I mentioned it, but it’s crucial! Cold cream cheese will give you a lumpy filling. Plan ahead and let it sit out, or use the gentle microwave trick if you’re in a hurry.
- Don’t Overmix the Filling: Once you add the wet ingredients (condensed milk, juice, etc.), mix only until just combined and smooth. Overmixing can sometimes prevent it from setting properly.
- Chill Time is Non-Negotiable: Seriously, resist the urge to cut into it early! Those 4+ hours (or overnight!) in the fridge are essential for the filling to firm up into that lovely sliceable texture.
- Press the Crust Firmly: A well-compacted crust is less likely to crumble when you slice it.
- Use Fresh Lemon Juice: While bottled works in a pinch, fresh lemon juice provides a much brighter, more vibrant citrus flavor that really elevates the cheesecake.
- Line Your Pan: For super easy removal and slicing, you can line your 9×13 dish with parchment paper, leaving an overhang on the sides to lift the whole cheesecake out once chilled.
How to Store It
If you somehow manage to have leftovers (a rare occurrence in my house!), storing these bars is easy.
Keep the cheesecake bars in the baking dish or transfer them to an airtight container. Cover them tightly with plastic wrap or a lid. Store in the refrigerator for 3-4 days. For longer storage, you can freeze the bars (without the whipped cream or lemon slice garnish) wrapped individually in plastic wrap and then placed in a freezer-safe container for up to 1-2 months. Thaw in the refrigerator before serving.
FAQs
Why isn’t my no-bake cheesecake setting?
The most common culprit is not enough chilling time! Make sure it’s been in the fridge for at least 4 hours, preferably longer. Using properly softened cream cheese and not overmixing the filling also helps ensure a good set.
Can I use bottled lemon juice instead of fresh?
Yes, you can. However, fresh lemon juice will give you a much brighter, more authentic lemon flavor. If using bottled, you might want to taste the filling before chilling and add a little extra juice or zest if you want more tang.
Can I make this recipe ahead of time for a party?
Absolutely! These bars are perfect for making ahead. Prepare them the day before your event and let them chill in the refrigerator overnight. This ensures they are perfectly set and ready to slice right before guests arrive.
How many bars does this recipe make?
Using a 9×13-inch pan, you can typically cut these into 12-16 bars, depending on how large you make the slices. They are rich, so smaller squares are often perfect!

Easy No Bake Lemon Cheesecake Bars
Ingredients
Equipment
Method
- Step 1: Get the Crust Ready: Grab a medium-sized bowl. Pour in those graham cracker crumbs. Now, drizzle in the glorious melted butter. Stir it all together with a fork or spoon until every crumb is coated and it looks like wet sand.
- Step 2: Press into the Pan: Take a 9x13-inch baking dish. Pour the crumb mixture into the bottom. Use the bottom of a glass or a flat measuring cup to press the crumbs down firmly and evenly into a compact layer. Make sure you get into the corners! This is your delicious foundation.
- Step 3: Make the Creamy Filling: In a separate, larger bowl (or the bowl of your stand mixer), add the softened cream cheese. Beat it with an electric mixer until it's super smooth and there are no lumps. Now, gradually pour in the sweetened condensed milk while mixing. Scrape down the sides as needed.
- Step 4: Add the Lemon Goodness: With the mixer on low speed, pour in the fresh lemon juice, add the lemon zest, and the vanilla extract. Mix just until everything is well combined and the filling is smooth and creamy. Don't overmix at this stage!
- Step 5: Assemble the Layers: Gently pour the beautiful lemon cheesecake filling over the graham cracker crust in the baking dish. Use a spatula or the back of a spoon to spread it out evenly into one smooth layer.
- Step 6: Chill Out: Cover the dish tightly with plastic wrap. Place it in the refrigerator for at least 4 hours. Chilling it overnight is even better if you can wait, as it allows the filling to set up perfectly.
- Step 7: Slice and Serve: Once the cheesecake is completely set and firm, take it out of the fridge. Use a sharp knife to slice the cheesecake into bars. For cleaner cuts, you can run your knife under hot water and wipe it clean between slices. Top each bar with a dollop of whipped cream and a pretty lemon slice just before serving, if you like!