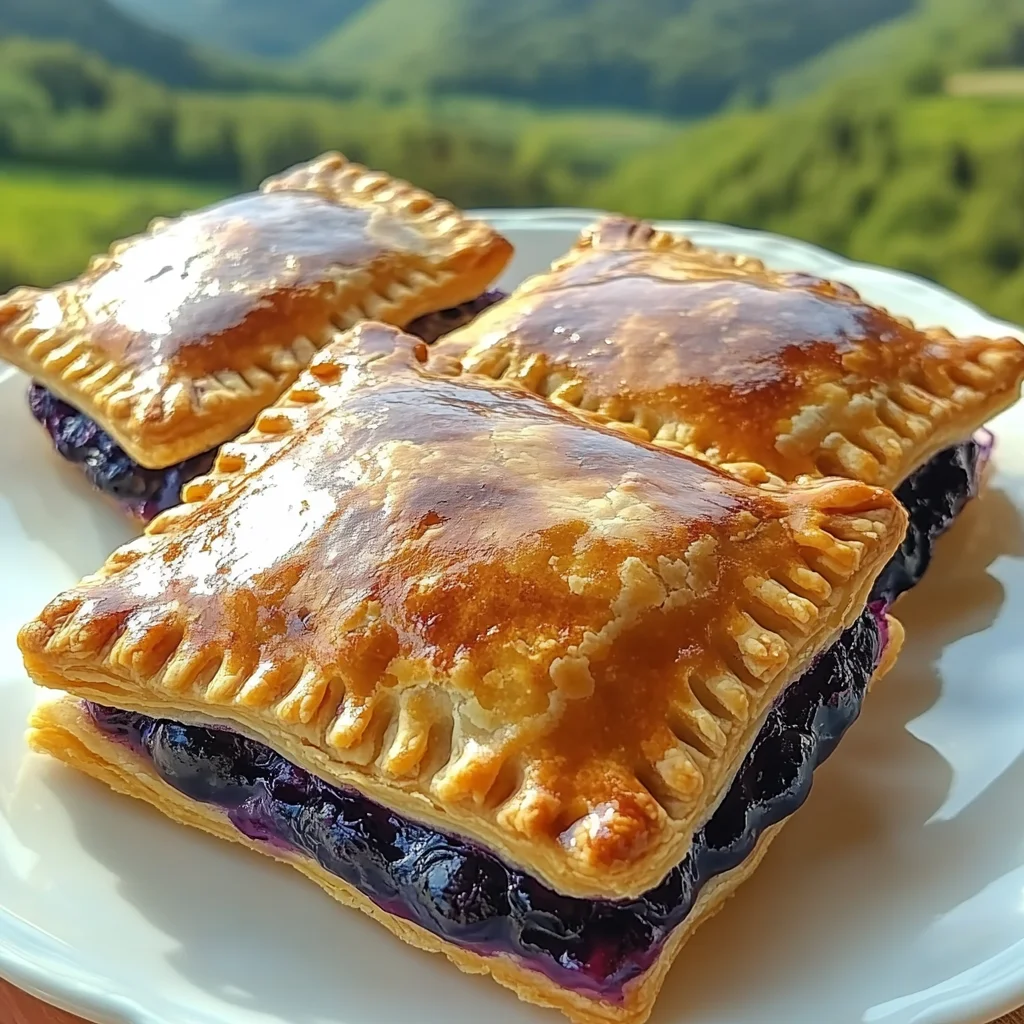
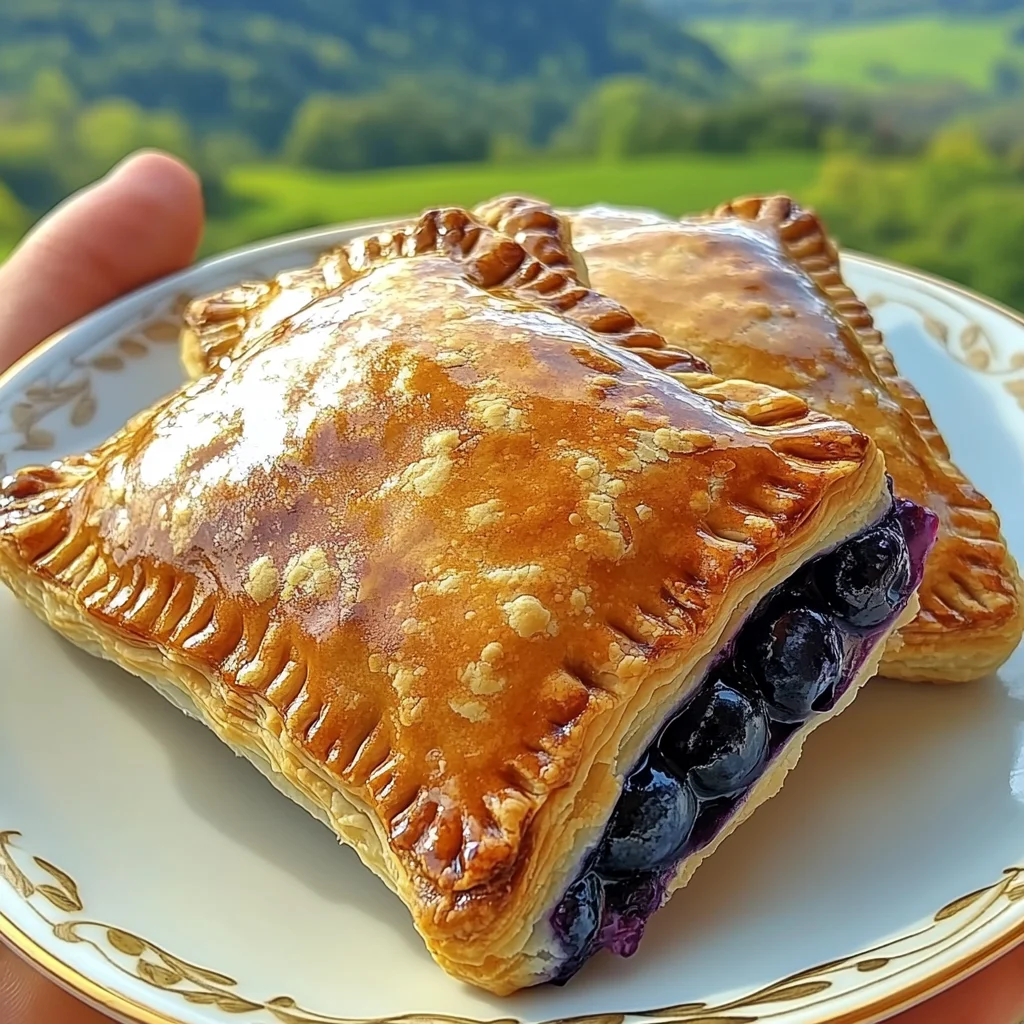
Remember those lazy summer afternoons, the sun warm on your skin, and the sweet scent of freshly baked pie wafting from the kitchen? For me, that feeling of pure comfort and simple joy is exactly what these Blueberry Hand Pies evoke. They’re like a little hug in pastry form – all the goodness of a traditional fruit pie, but in a perfectly portable package. And guess what? They are unbelievably easy to make, shockingly quick to come together, and trust me, you’ll be making memories with every single bite. No fancy pie crust skills needed here, just pure, unadulterated deliciousness!
Why You’ll Love Blueberry Hand Pies
- Fast: Ready in no time, perfect for a spontaneous treat or last-minute dessert.
- Easy: Using store-bought puff pastry makes this recipe a breeze, even for beginner bakers.
- Giftable: These individual pies are adorable and make perfect edible gifts for friends, neighbors, or hostesses.
- Crowd-pleasing: Who can resist a warm, fruity pastry? They disappear quickly at any gathering!
Ingredients

Gathering your ingredients is half the fun! Here’s what you’ll need for these delightful hand pies:
- 4 sheets frozen puff pastry (2 boxes): This is our secret weapon for speed and flaky perfection! Make sure they’re thawed but still cold.
- 1 Granny Smith apple, peeled, cored, and diced: Don’t skip the apple! It adds a lovely tartness and a little texture that really elevates the blueberry filling.
- 3 cups blueberries: Fresh or frozen, both work wonderfully. If using frozen, no need to thaw them first!
- ¾ cup granulated sugar: Just enough sweetness to balance the fruit.
- ½ cup all-purpose flour: This acts as a thickener for our fruit filling, ensuring it’s not too watery.
- ¾ teaspoon cinnamon: That warm, cozy spice that just screams “pie.”
- Pinch of kosher salt: A tiny bit of salt enhances all the sweet flavors.
- Pinch of nutmeg: A classic partner to blueberries and apples, it adds another layer of warmth.
- 4½ teaspoons raw sugar (for topping): This gives our pies a beautiful sparkle and a delightful crunch.
- 1 egg, beaten with 5 teaspoons water (for egg wash): Our golden ticket to that gorgeous, shiny, golden-brown crust.
How to Make Blueberry Hand Pies
Alright, let’s get baking! You’ll be amazed at how quickly these come together.
1. First things first, get your oven ready. Preheat it to 400°F (200°C). While it’s heating up, line a large baking sheet with parchment paper. This makes for easy cleanup and prevents sticking.
2. In a big bowl, combine your lovely blueberries, diced Granny Smith apple, granulated sugar, flour, cinnamon, salt, and nutmeg. Give it all a good mix. You want every piece of fruit to be coated in that delicious sugary-spiced mixture. This is going to be the heart of your pies!
3. Now for the star of the show: the puff pastry! Lay a piece of parchment paper on your counter. Gently unwrap one puff pastry sheet at a time. It’s important to keep the other sheets in the fridge until you’re ready to use them, as puff pastry works best when cold.
4. Each pastry sheet usually has natural folds. Use these as your guide to cut each sheet into 6 equal pieces. If yours doesn’t have folds, no worries! Just eyeball it or use a ruler to cut three rows down and two across. This will give you 24 perfect squares in total from all four sheets.
5. Take 12 of your pastry squares and place approximately ⅓ cup of the glorious fruit filling onto the center of each, making sure to leave a clear border around the edges. This border is crucial for sealing our pies.
6. Now for the sealing! Take your prepared egg wash (egg beaten with water) and brush the edges of the filled pastry squares. Then, carefully place a second, plain pastry square on top of each filled one. Gently press the edges together with your fingers to seal them up. You want a good seal to keep all that juicy filling inside.
7. To make them look extra pretty and to ensure a super secure seal, grab a fork and firmly press around the sealed edges of each pie. This creates that classic hand pie crimp! Carefully transfer your beautifully assembled pies to your parchment-lined baking sheet. Don’t overcrowd the sheet; you might need two if they don’t all fit comfortably.
8. Now, for the finishing touches! Brush the tops of all your pies with the remaining egg wash. This will help them turn that gorgeous golden brown. Sprinkle evenly with the raw sugar – this adds a lovely sparkle and a nice textural crunch. Finally, cut three small slits into the top of each pie. This is super important! It allows steam to escape during baking, preventing your pies from bursting and ensuring that flaky crust we all love.
9. Pop them in the preheated oven and bake until the pies are golden brown and beautifully puffed. Keep an eye on them; baking times can vary slightly depending on your oven. Once they’re golden and glorious, take them out and let them cool slightly before diving in. The filling will be hot!
Substitutions & Additions
This recipe is incredibly versatile, so feel free to get creative!
- Fruit Fun: Not a blueberry fan? No problem! You can easily swap out the blueberries for other fruits. Try sliced peaches for a summery treat (you might love my Easy Peach Hand Pies with Donut Glaze!). Mixed berries, cherries, or even thinly sliced apples (without the extra apple in the filling) would also be fantastic.
- Spice It Up: Play around with your spices! A tiny pinch of cardamom or a touch of allspice would be lovely with the fruit.
- Zesty Kick: Add a teaspoon of lemon zest to the fruit filling for a brighter, more vibrant flavor.
- Sweet Glaze: If you want to skip the raw sugar topping, you can drizzle a simple glaze over the cooled pies. Just whisk together powdered sugar with a little milk or lemon juice until it reaches drizzling consistency.
- Savory Spin: Believe it or not, puff pastry hand pies aren’t just for dessert! For a savory twist, fill them with cooked ground beef and cheese, or a spinach and feta mixture.
Tips for Success
- Keep it Cold: Puff pastry performs best when it’s cold. If your kitchen is warm, work quickly or chill your pastry sheets for a few minutes if they become too soft to handle. This helps achieve that incredible flaky texture.
- Don’t Overfill: It’s tempting to cram in as much delicious filling as possible, but resist! Overfilling can lead to messy leaks during baking. Stick to the ⅓ cup measurement.
- Seal Securely: Make sure those edges are well-sealed. The egg wash acts like glue, and pressing with a fork creates a strong barrier, keeping all that yummy fruit inside.
- Steam Vents are Key: Those three little slits aren’t just for looks! They let steam escape, which prevents the pies from puffing up too much and bursting.
- Batch Baking: These pies are great for making ahead. You can assemble them and freeze them unbaked, then bake directly from frozen, adding a few extra minutes to the baking time. It’s so handy to have them on hand for unexpected cravings! If you’re looking for more quick and delicious ideas, feel free to explore all the recipes on my blog!
How to Store Blueberry Hand Pies
These hand pies are best enjoyed warm, straight from the oven, but they store well too!
- Room Temperature: Once completely cooled, you can store leftover hand pies in an airtight container at room temperature for up to 2 days.
- Refrigerator: For longer storage, keep them in an airtight container in the refrigerator for up to 4-5 days.
- Reheating: To re-crisp them, pop them in a toaster oven or a regular oven at 300°F (150°C) for about 5-10 minutes until warmed through and the pastry is flaky again.
- Freezing (Baked): You can freeze baked hand pies in an airtight freezer-safe container or bag for up to 2-3 months. Thaw at room temperature and then reheat as desired.
- Freezing (Unbaked): As mentioned in the tips, you can also freeze them unbaked! Place assembled (but unbaked) pies on a parchment-lined baking sheet and freeze until solid. Once frozen, transfer them to a freezer bag. Bake from frozen at 400°F, adding about 5-10 minutes to the baking time. This is perfect for when you want a fresh-baked treat without the prep! It reminds me a bit of how easy it is to prepare Rhubarb Puff Tart Pockets for a quick dessert.
FAQs
Q: Can I use fresh or frozen blueberries?
A: Yes, both work great! If using frozen, there’s no need to thaw them beforehand. Just toss them directly into the filling mixture.
Q: My puff pastry is sticking. What should I do?
A: Puff pastry works best when cold. If it gets too warm and sticky, pop it back in the fridge for 10-15 minutes to firm up. You can also lightly flour your work surface and rolling pin if needed, but usually, parchment paper is enough.
Q: Can I make these ahead of time?
A: Absolutely! You can assemble the pies and store them in the fridge for a few hours before baking, or freeze them unbaked for longer storage (see “Tips for Success” for details).
Q: What if I don’t have raw sugar for the topping?
A: Granulated sugar will work just fine! The raw sugar just adds an extra crunch and sparkle, but your pies will still be delicious without it.
Love these easy, delicious recipes? Be sure to follow us on Pinterest for more inspiration!
The Easiest & Most Delicious Blueberry Hand Pies
Ingredients
Equipment
Method
- Step 1: Preheat oven to 400°F (200°C). Line a large baking sheet with parchment paper.
- Step 2: In a large bowl, combine blueberries, diced Granny Smith apple, granulated sugar, flour, cinnamon, salt, and nutmeg. Mix well until all fruit is coated.
- Step 3: Lay a piece of parchment paper on your counter. Gently unwrap one puff pastry sheet at a time, keeping others in the fridge until ready to use.
- Step 4: Cut each pastry sheet into 6 equal pieces, using natural folds as a guide or eyeballing to get three rows down and two across. This will yield 24 squares total from four sheets.
- Step 5: Place 12 of your pastry squares on the counter. Place approximately ⅓ cup of the fruit filling onto the center of each, leaving a clear border around the edges.
- Step 6: Brush the edges of the filled pastry squares with the prepared egg wash. Carefully place a second, plain pastry square on top of each filled one. Gently press the edges together with your fingers to seal them securely.
- Step 7: Firmly press around the sealed edges of each pie with a fork to create a classic crimp and ensure a secure seal. Carefully transfer the assembled pies to your parchment-lined baking sheet, ensuring not to overcrowd (you may need two sheets).
- Step 8: Brush the tops of all pies with the remaining egg wash. Sprinkle evenly with raw sugar. Cut three small slits into the top of each pie to allow steam to escape during baking.
- Step 9: Bake in the preheated oven until the pies are golden brown and beautifully puffed. Baking times may vary. Remove from oven and let cool slightly before serving, as the filling will be hot.