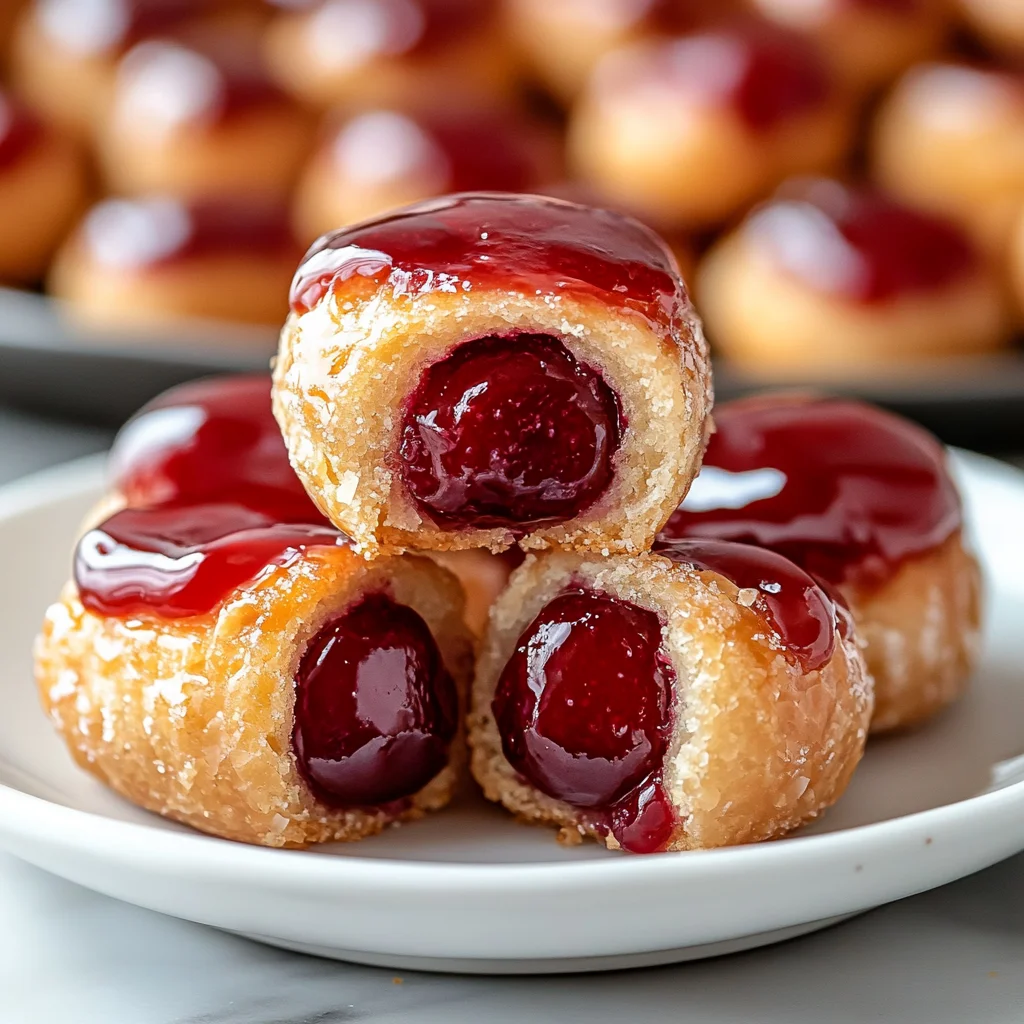
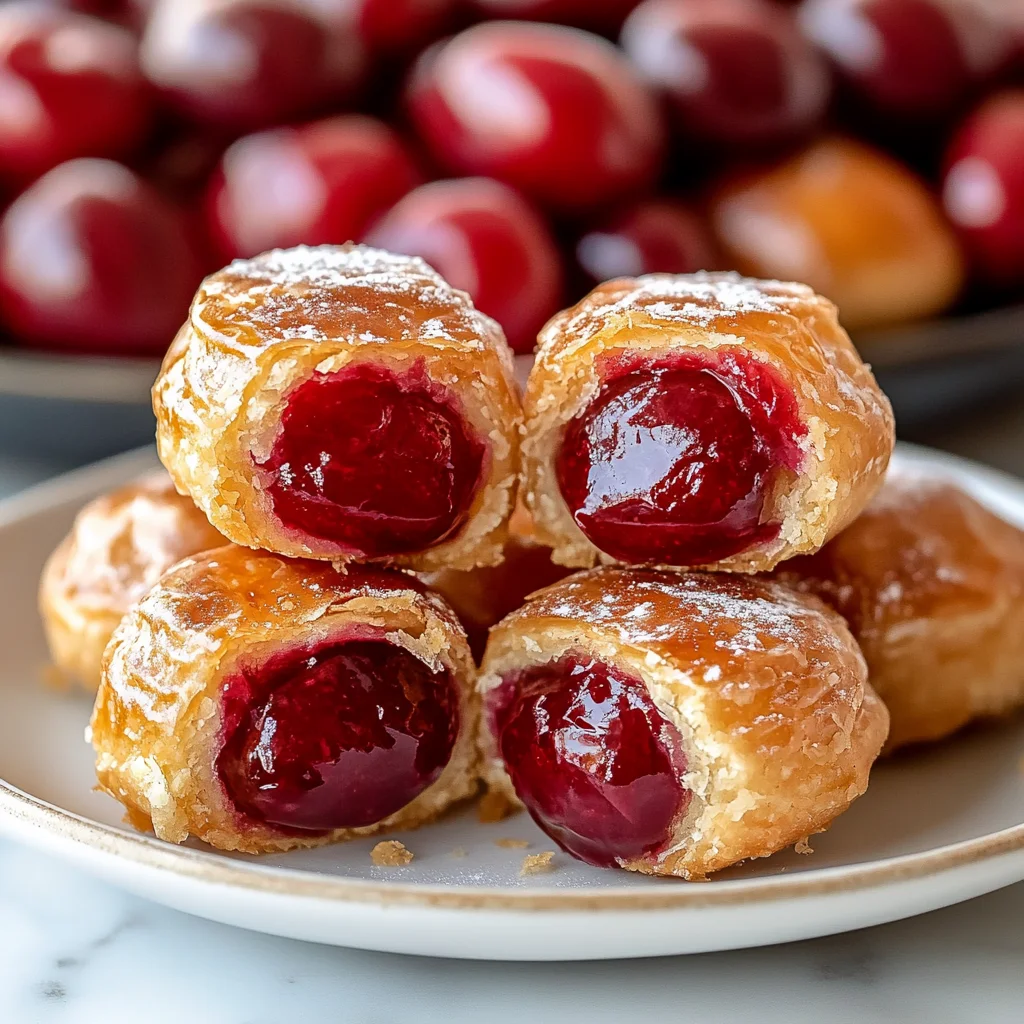
Hey there, friend! Pull up a chair. Let’s talk about those little moments in the kitchen that just feel like home, shall we? For me, it’s often about taking simple ingredients and whipping up something that tastes like pure comfort. And these Cherry Pie Bites? Oh, they are exactly that. They remind me of lazy afternoons, potlucks, and just that simple joy of a warm, sweet treat.
Forget complicated pie crusts and rolling pins! We’re using a little kitchen shortcut magic (hello, crescent rolls!) to create these adorable, pop-in-your-mouth mini pies. They’re so ridiculously easy and fast, you might just make them every week. Seriously, you only need four ingredients and about 20 minutes from start to warm, glazed finish. Let’s bake some happiness!
Why You’ll Love This Recipe
- Fast: From pantry to plate in under 30 minutes. Perfect for sudden cravings!
- Easy: No fancy skills needed. If you can open a can and unroll dough, you can make these.
- Giftable: Packaged up, they make a lovely homemade gift for neighbors or friends.
- Crowd-Pleasing: Who doesn’t love warm cherry pie in a perfect little bite?
Ingredients
Gather your goodies! You just need a few pantry staples to make these magic happen:
- 1 (21 ounce) can cherry pie filling: This is our star! Get your favorite brand. You could even try other flavors, but cherry is a classic for a reason.
- 2 (8 ounce) tubes crescent roll dough: Ah, the ultimate shortcut hero! Make sure it’s the standard dough, not the sheets (unless you want to cut them yourself!).
- 1 cup powdered sugar: For that essential, dreamy glaze. It dissolves beautifully.
- 1-2 tablespoons milk: Our liquid friend to turn that powdered sugar into a pourable glaze. You might need a tiny bit more or less depending on your desired consistency.
How to Make It
Ready? Let’s do this! It’s super simple, I promise.
-
Okay, first things first, let’s get the oven ready. Preheat your oven to 375°F (190°C). While it heats up, grab a standard muffin tin. Give each cup a light spritz with nonstick cooking spray. This is key to making sure our little pies pop out easily!
-
Now, gently unroll one tube of the crescent roll dough. See those perforated lines? Carefully tear along them to separate the triangles. Take each triangle and nestle it into a cup in your prepared muffin tin. Position the widest part of the triangle at the bottom, kind of pressing it down and up the sides to form a little cup.
-
Time for the filling! Open up that can of cherry pie filling. Spoon about 3 to 4 heaping tablespoons of filling into the center of each dough cup. Don’t be shy with the cherries, but also try not to overfill too much, or they might spill over. I usually aim for a good mix of cherries and the yummy sauce.
-
Now, let’s close them up. Gently gather the points and edges of the crescent roll dough and fold them over the filling. It won’t completely enclose it like a traditional pie, and that’s totally fine! Just try to gather the corners and lightly press them together over the center to help seal it in as much as possible.
-
Pop the muffin tin into your preheated oven. Bake for 13-14 minutes, or until the crescent roll dough is beautifully golden brown. They should look puffed up and delicious! Keep an eye on them, as ovens can vary.
-
While the bites are baking or cooling slightly, let’s make the glaze. In a small bowl, whisk together the powdered sugar and 1 tablespoon of the milk. Keep whisking until it’s smooth. If it seems too thick, add another tablespoon of milk, a little at a time, until you get a nice, drizzly consistency. You want it thick enough to coat, but thin enough to pour.
-
Once the cherry bites are out of the oven and still warm (but not piping hot), grab a spoon. Drizzle that lovely glaze generously over the top of each one. The warmth helps the glaze set slightly.
-
And that’s it! Let them cool just enough so you don’t burn your tongue on the hot filling (trust me on this!), and then serve them up. They are absolutely best enjoyed warm.
Substitutions & Additions
This recipe is super flexible! Here are a few ideas to make them your own:
- Different Fillings: Swap the cherry for apple, blueberry, peach, or even a mixed berry pie filling. Pumpkin would be amazing in the fall!
- Add Spice: Stir a pinch of cinnamon or nutmeg into the cherry filling before spooning it in for extra warmth.
- Lemon Glaze: Use lemon juice instead of milk for the glaze for a bright, zesty twist.
- Nutty Crunch: Sprinkle a few chopped pecans or walnuts over the filling before folding the dough.
- Sugar Sparkle: Sprinkle a little coarse sugar on the tops of the dough before baking for a sweet crunch.
Tips for Success
Even though these are super easy, here are a couple of things I’ve learned along the way:
- Don’t Overfill: While tempting, stuffing too much filling into the dough cup can cause spills and make them harder to seal. Stick to the 3-4 tablespoons.
- Grease Well: Don’t skip greasing the muffin tin! It really helps prevent sticking.
- Watch the Bake Time: Ovens vary, so check them around 12 minutes. You want them golden, but not burnt!
- Glaze While Warm: Drizzling the glaze over warm bites helps it melt slightly and adhere nicely.
How to Store It
These are definitely best enjoyed fresh and warm! However, if you have leftovers (a rare occurrence in my house!), you can store them.
- Room Temperature: If they’re going to be eaten within a day, you can store them loosely covered at room temperature.
- Refrigerator: For longer storage, place them in an airtight container in the fridge for up to 3-4 days.
- Reheating: Gently warm them in the microwave for a few seconds or in a low oven (around 300°F) until heated through.
FAQs
Got questions? I’ve got a few answers!
- Can I use homemade pie filling? Absolutely! If you have a favorite homemade cherry pie filling recipe, feel free to use it instead of canned.
- Can I make these ahead of time? You can bake them ahead and store as directed. I recommend making the glaze separately and drizzling just before serving for the best look and texture, especially if you’re refrigerating them.
- Are they messy to eat? They can be a little gooey with the cherry filling and glaze, but they’re designed to be a few bites, making them much less messy than a full slice of pie! Keep napkins handy just in case.
There you have it! Your new favorite easy dessert or snack. I just know you’re going to love how simple and delicious these Cherry Pie Bites are. Give them a try and let me know how they turn out!

Easy & Nostalgic Cherry Pie Bites (Made with Crescent Rolls!)
Ingredients
Equipment
Method
- Step 1: Preheat oven to 375°F (190°C). Lightly spritz each cup of a standard muffin tin with nonstick cooking spray.
- Step 2: Gently unroll one tube of crescent roll dough. Tear along the perforated lines to separate triangles. Nestle each triangle into a muffin tin cup, pressing the widest part down and up the sides to form a cup.
- Step 3: Spoon about 3 to 4 heaping tablespoons of cherry pie filling into the center of each dough cup.
- Step 4: Gently gather the points and edges of the crescent roll dough and fold them over the filling, pressing the corners together over the center to help seal.
- Step 5: Bake for 13-14 minutes, or until the crescent roll dough is golden brown.
- Step 6: While the bites are baking or cooling slightly, whisk together the powdered sugar and 1 tablespoon of milk in a small bowl until smooth. Add more milk, a little at a time, if needed for a drizzly consistency.
- Step 7: Once out of the oven and still warm, generously drizzle the glaze over the top of each bite.
- Step 8: Let them cool just enough to handle, then serve. Best enjoyed warm.