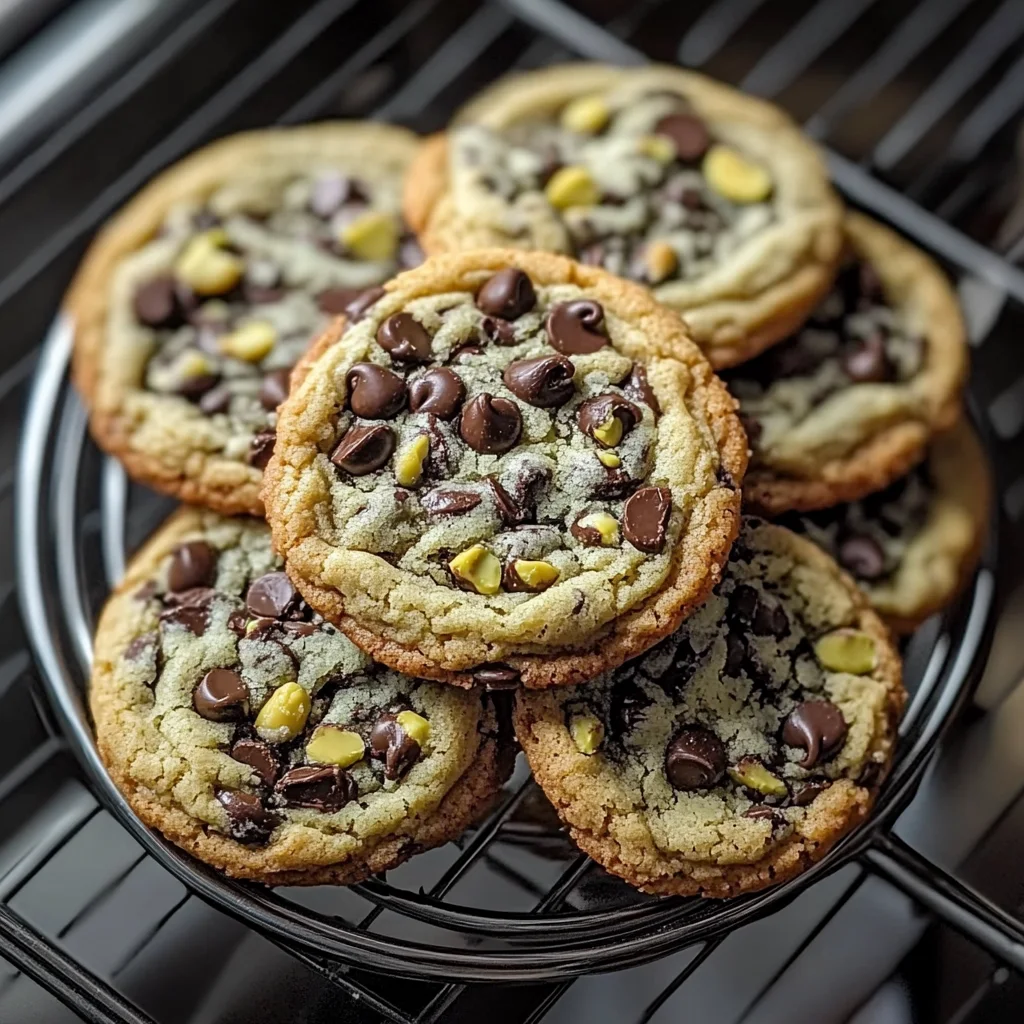
Oh my goodness, get ready for a cookie experience that will transport you straight to a cozy bakery, filled with the irresistible aroma of chocolate and something sweet. Remember that classic rocky road ice cream or candy bar? That perfect mix of rich chocolate, soft, gooey marshmallows, and crunchy nuts? Well, imagine all that magic packed into a giant, incredibly chewy cookie with those slightly crispy edges and a molten center. These Rocky Road Cookies are exactly that – pure, unadulterated bliss in cookie form, and they remind me of the amazing ones you find in fancy bakeries, but made right here in your kitchen!
Seriously, these aren’t just any cookies. They’re thick, substantial, and loaded with texture and flavor. And while they look impressive, they’re surprisingly straightforward to make. You just need a few simple ingredients, a little time, and a lot of anticipation. Let’s bake some joy!
Why You’ll Love This Recipe
- Fast(ish): While they have a few steps and a little cooling time, the active baking time is quick!
- Easy: No fancy techniques here, just straightforward mixing and baking.
- Giftable: Package these up, and you’ve got a handmade gift that will make anyone swoon.
- Crowd-Pleasing: Who can resist the rocky road combo? These disappear fast!
Ingredients
Here’s what you’ll need to whip up these beauties. Using high-quality ingredients really makes a difference here!
- 1 cup (226g) cold unsalted butter, cubed: Using cold butter is one of the secrets to that amazing, thick texture. Don’t soften it! Cubing it helps it cream properly.
- 1 cup (200g) packed light brown sugar: Adds moisture and that lovely caramel-y depth of flavor. Make sure it’s packed tight in the measuring cup.
- 1/2 cup (100g) granulated sugar: For sweetness and a little crispness on the edges.
- 2 large eggs, cold: Another cold ingredient key! Cold eggs emulsify better with the cold butter, contributing to the cookie’s structure.
- 1 teaspoon vanilla extract: A must-have for enhancing all those sweet flavors.
- 2 1/2 cups (300g) all-purpose flour: Our main structure builder.
- 1/2 cup (45g) unsweetened cocoa powder: Choose a good quality cocoa powder for the best chocolate flavor.
- 1 teaspoon baking soda: The leavening agent that helps them puff up beautifully.
- 1/2 teaspoon salt: Crucial for balancing the sweetness and bringing out the chocolate flavor. Don’t skip it!
- 1 cup (170g) semi-sweet chocolate chips: I love semi-sweet, but dark chocolate chips work too!
- 1 cup (90g) mini marshmallows: These get wonderfully gooey and slightly toasted in the oven. Mini ones distribute best.
- 1 cup (120g) chopped walnuts or pecans: Adds that essential rocky road crunch. Toasting them lightly before adding can boost their flavor even more!
How to Make It
Let’s get baking! Follow these steps, and you’ll be enjoying warm cookies in no time.
- Prep Your Station: First things first, preheat your oven to 410°F (210°C). This hot oven temperature helps create that perfect texture – soft inside, slightly set outside. Line your baking sheets with parchment paper. This makes cleanup a breeze and prevents sticking.
- Cream the Butter & Sugars: In the bowl of your stand mixer fitted with the paddle attachment (or use a hand mixer and a large bowl!), add the cold cubed butter, packed light brown sugar, and granulated sugar. Cream them together on medium speed for about 2 minutes. Don’t expect it to be super fluffy like typical cookie dough; you’re looking for a texture that resembles wet sand.
- Add the Eggs & Vanilla: Crack in your cold eggs, one at a time. Mix well after each addition, scraping down the sides of the bowl if needed. Once the eggs are incorporated, mix in the vanilla extract.
- Whisk Dry Ingredients: In a separate medium bowl, whisk together the flour, cocoa powder, baking soda, and salt. Whisking ensures everything is evenly distributed.
- Combine Wet & Dry: With your mixer on low speed, gradually add the dry ingredients to the wet ingredients. Mix until just combined. It’s really important not to overmix at this stage; overmixing can lead to tougher cookies. Stop as soon as you see no more dry streaks.
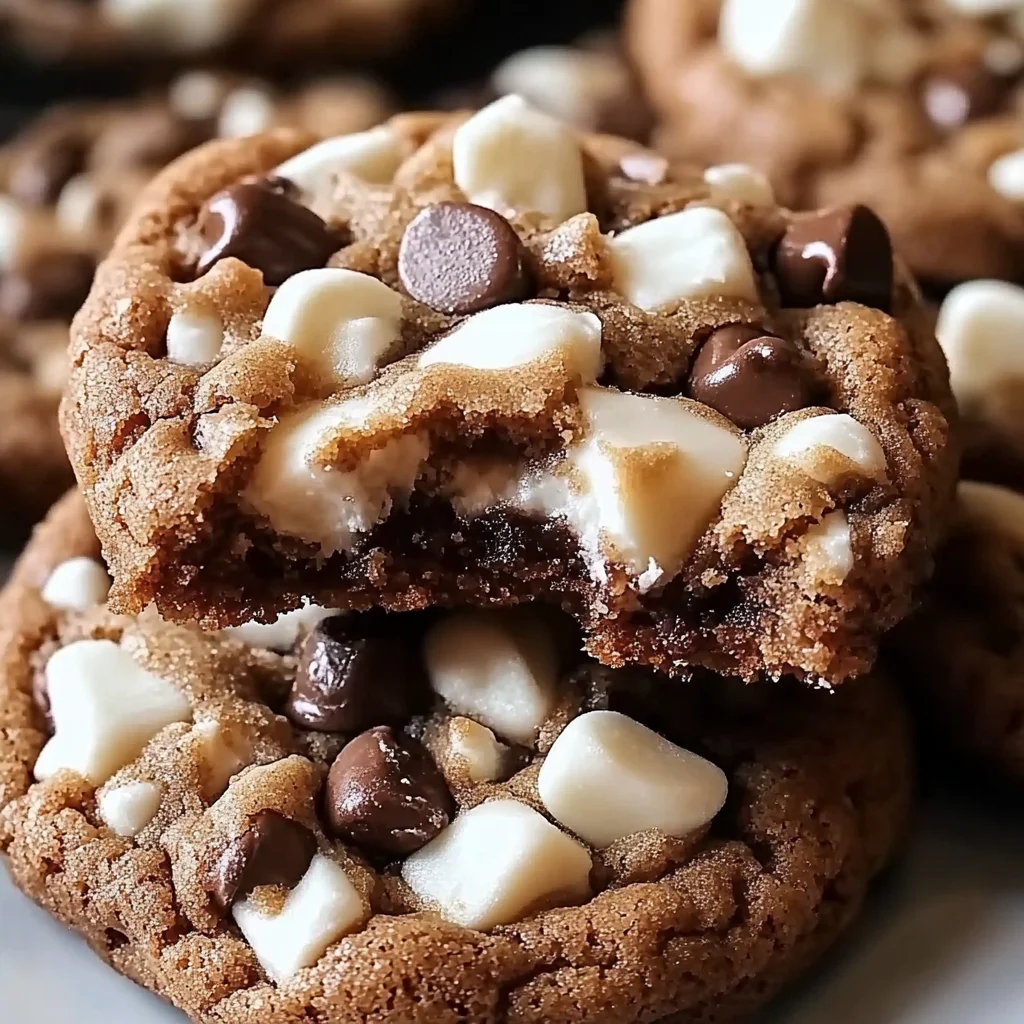
- Fold in the Goodies: Take your spatula and gently fold in the semi-sweet chocolate chips, mini marshmallows, and chopped nuts. Fold just until they are evenly distributed throughout the dough.
- Portion the Dough: Now for the fun part – making those big, bakery-style cookies! Using a large cookie scoop (about 6 ounces or 170g, which is roughly 1/3 to 1/2 cup of dough per cookie!) or your hands, form the dough into large balls. Don’t flatten them; leave them tall and round.
- Place on Baking Sheets: Place the large cookie dough balls onto your prepared baking sheets. Remember these spread a bit, so leave plenty of space between them, perhaps only 4-6 cookies per standard sheet.
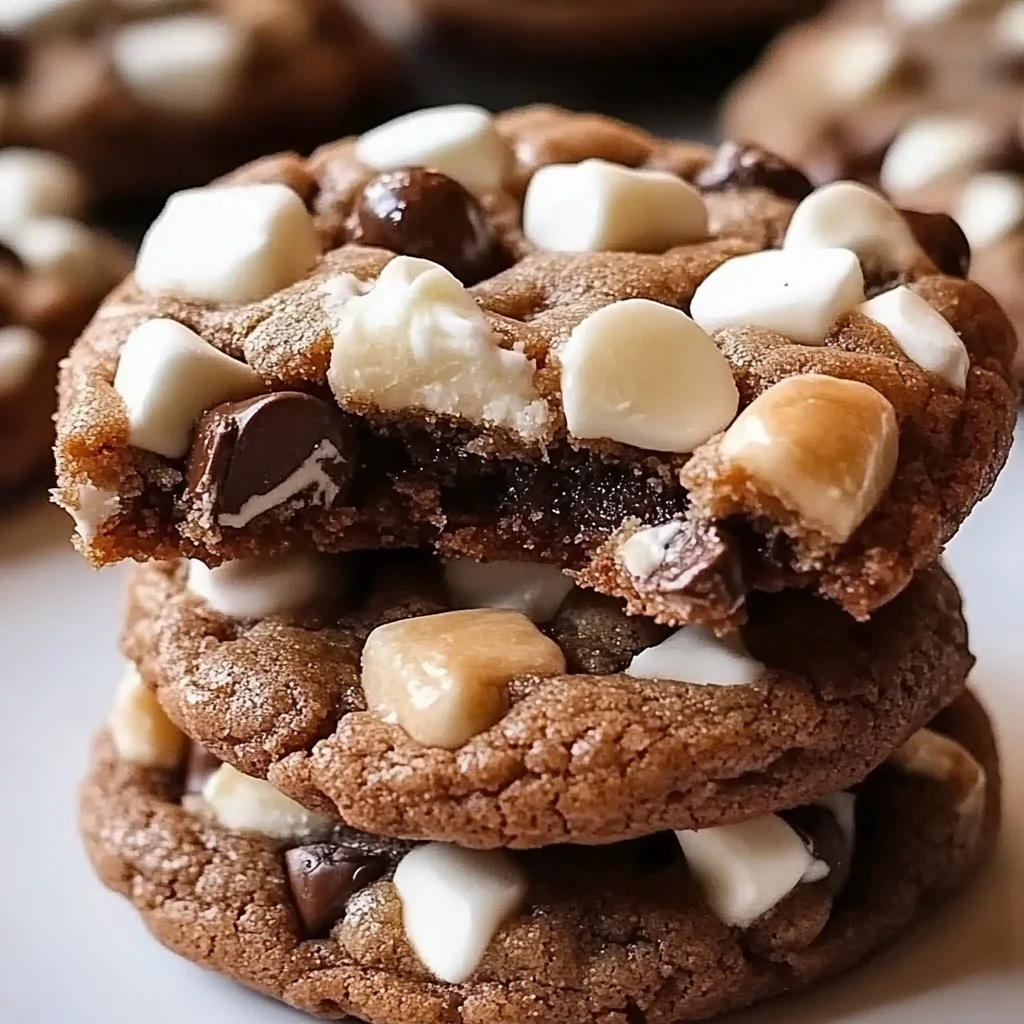
- Bake ‘Em! Bake in your preheated 410°F (210°C) oven for 9-12 minutes. Watch them carefully. You want the edges to look set and slightly golden, but the centers should still look very soft and possibly a little underdone. This is key for that gooey middle after they cool slightly.
- Cool Down: This step is crucial! Let the cookies cool on the baking sheets for at least 15 minutes before attempting to move them. They continue to set up on the hot pan. After 15 minutes, you can carefully transfer them to a wire rack to cool completely (if you can wait that long!).
Substitutions & Additions
Want to play around with the recipe? Here are a few ideas:
- Nuts: Not a fan of walnuts or pecans? Try chopped almonds or even skip the nuts if you have allergies.
- Chocolate: Use milk chocolate chips, dark chocolate chunks, or even white chocolate chips for a different twist. A mix is also great!
- Marshmallows: While mini marshmallows work best, you could try chopping up larger ones, just be aware they might spread a bit more.
- Extra Goodies: Feel free to fold in other rocky road inspired treats like a sprinkle of sea salt on top before baking, caramel bits, or even chopped pretzel pieces for a sweet and salty crunch!
Tips for Success
A few little pointers to help you nail these cookies every time:
- Cold Ingredients Matter: Seriously, don’t skip using cold butter and eggs. It makes a difference in the texture.
- Don’t Overmix: Stop mixing the dry ingredients as soon as they are incorporated.
- Big is Beautiful: Don’t be shy with the size! That large size is what gives them that amazing thick, gooey center.
- Don’t Flatten: Leave the dough balls tall; they will spread on their own.
- Trust the Timing: They will look underbaked in the center when you pull them out, and that’s exactly what you want for ultimate chewiness.
- Rest is Best: Let them cool on the hot pan for the full 15 minutes. It allows the centers to finish cooking slightly and prevents them from falling apart when you move them.
How to Store It
If you happen to have any of these incredible cookies left over (a big if!), here’s how to keep them fresh:
Store cooled cookies in an airtight container at room temperature for up to 3-4 days. For that fresh-baked gooeyness, you can pop a cookie in the microwave for 10-15 seconds before enjoying.
You can also freeze the baked cookies for up to 3 months. Let them cool completely, then place them in a single layer on a baking sheet to freeze. Once frozen, transfer them to a freezer-safe bag or container.
Prefer to bake later? You can form the dough balls and freeze them on a baking sheet. Once frozen, transfer to a freezer bag. Bake from frozen, adding 2-4 minutes to the baking time.
FAQs
Got questions? I’ve got answers!
- Why are the butter and eggs cold? Using cold fats and eggs helps create a thicker cookie that spreads less initially in the hot oven, resulting in that coveted thick, bakery-style texture.
- My marshmallows melted everywhere! What happened? This can happen if they are too close to the edge of the cookie, if your oven runs hot, or if they were baked for too long. Make sure the marshmallows are tucked into the dough as much as possible.
- Can I make smaller cookies? Yes, you absolutely can! Just reduce the baking time. Start checking around 7-9 minutes for smaller cookies. The key is still baking until the edges are set but the centers are soft.
- Can I skip the nuts? Of course! If you have allergies or just don’t like nuts, simply omit them. The cookies will still be delicious with just the chocolate and marshmallows!

Chewy, Gooey Bakery-Style Rocky Road Cookies
Ingredients
Equipment
Method
- Step 1: Prep Your Station: Preheat your oven to 410°F (210°C). Line your baking sheets with parchment paper.
- Step 2: Cream the Butter & Sugars: In the bowl of your stand mixer fitted with the paddle attachment (or use a hand mixer and a large bowl!), add the cold cubed butter, packed light brown sugar, and granulated sugar. Cream them together on medium speed for about 2 minutes until the texture resembles wet sand.
- Step 3: Add the Eggs & Vanilla: Crack in your cold eggs, one at a time. Mix well after each addition, scraping down the sides of the bowl if needed. Once the eggs are incorporated, mix in the vanilla extract.
- Step 4: Whisk Dry Ingredients: In a separate medium bowl, whisk together the flour, cocoa powder, baking soda, and salt. Whisking ensures everything is evenly distributed.
- Step 5: Combine Wet & Dry: With your mixer on low speed, gradually add the dry ingredients to the wet ingredients. Mix until just combined, stopping as soon as you see no more dry streaks. Do not overmix.
- Step 6: Fold in the Goodies: Take your spatula and gently fold in the semi-sweet chocolate chips, mini marshmallows, and chopped nuts. Fold just until they are evenly distributed throughout the dough.
- Step 7: Portion the Dough: Using a large cookie scoop (about 6 ounces or 170g, which is roughly 1/3 to 1/2 cup of dough per cookie!) or your hands, form the dough into large balls. Don't flatten them; leave them tall and round.
- Step 8: Place on Baking Sheets: Place the large cookie dough balls onto your prepared baking sheets. Leave plenty of space between them, perhaps only 4-6 cookies per standard sheet, as they spread a bit.
- Step 9: Bake 'Em! Bake in your preheated 410°F (210°C) oven for 9-12 minutes. Watch them carefully; you want the edges to look set and slightly golden, but the centers should still look very soft and possibly a little underdone. This is key for that gooey middle after they cool slightly.
- Step 10: Cool Down: Let the cookies cool on the baking sheets for at least 15 minutes before attempting to move them. They continue to set up on the hot pan. After 15 minutes, you can carefully transfer them to a wire rack to cool completely (if you can wait that long!).