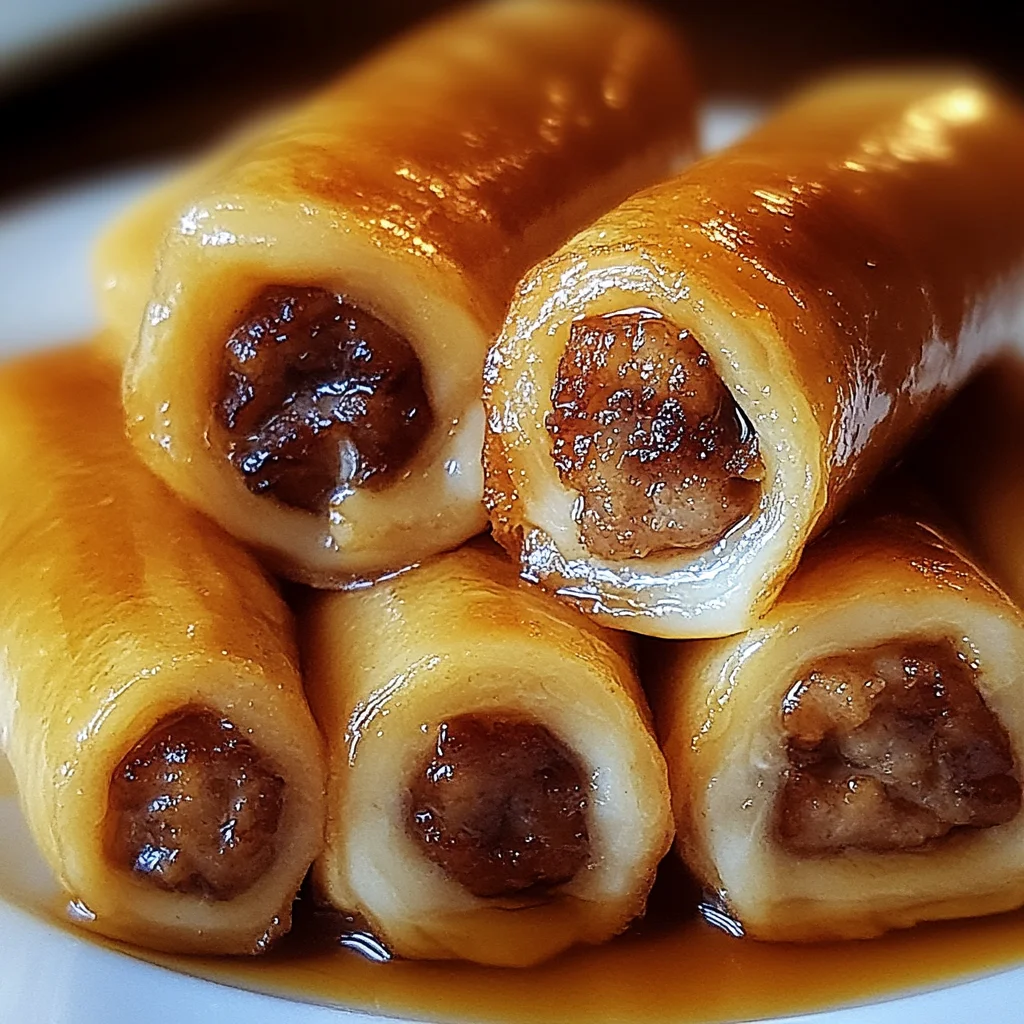
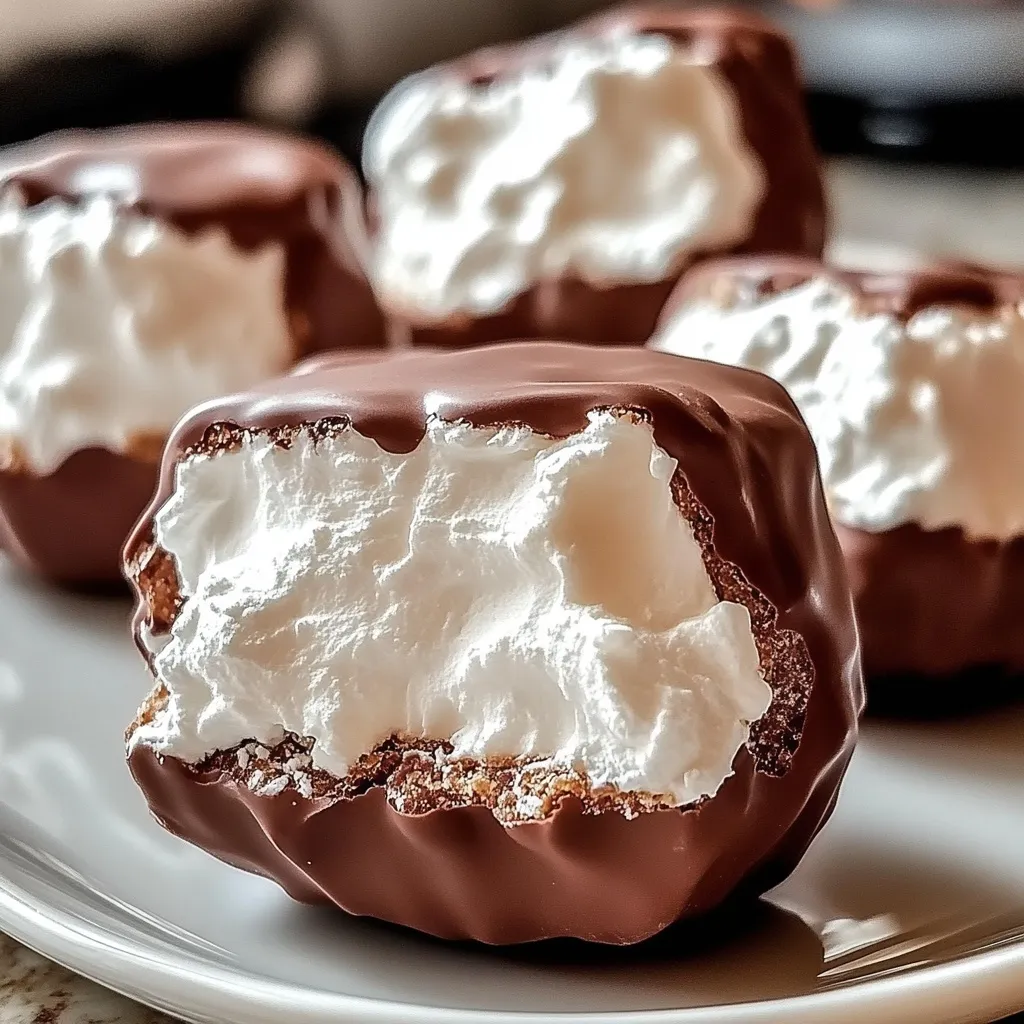
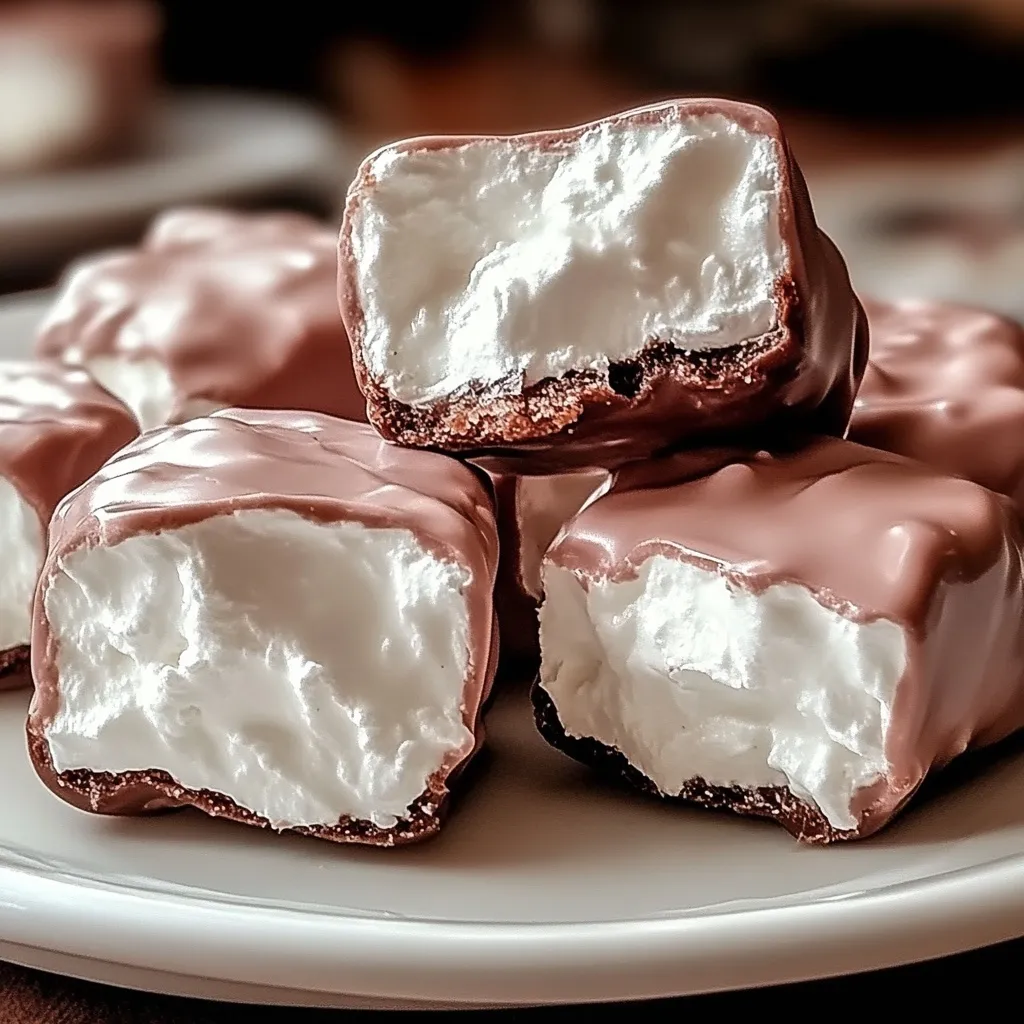
Hey friend! Get ready for a little kitchen magic. Remember those simple treats that just tasted like pure joy? The ones that didn’t require a million bowls or a chemistry degree to pull off? Well, this 3-Ingredient Cool Whip Candy is exactly that kind of magic! It’s one of those recipes that feels almost too easy to be true, but trust me, it delivers big time on smiles. Whether you’re making a quick dessert, a last-minute holiday treat, or just need a sweet pick-me-up, this recipe is about to become your new best friend.
Why You’ll Love This Recipe
- Fast: Seriously, active prep time is maybe 5 minutes.
- Easy: If you can stir, you can make this candy. No baking required!
- Giftable: Pack these up in cute little boxes or bags for a thoughtful homemade gift.
- Crowd-Pleasing: Who doesn’t love a sweet, bite-sized treat? Kids and adults devour these!
Ingredients
You only need three things for this little bit of heaven. Three! Isn’t that awesome?
- 225g (1 cup / 8 oz) Marshmallow Fluff: This is key! It gives our candy that unique, slightly chewy, melt-in-your-mouth texture. Don’t try to swap this for regular marshmallows, it won’t work the same way.
- 225g (1 cup / 8 oz) Cool Whip (or frozen whipped topping, thawed): Our other hero ingredient! Make sure it’s thawed in the fridge before you start, but still nice and cold. It provides the lightness and creaminess.
- 60g (½ cup) Crushed holiday candies: This is where you get to play! Crushed peppermint candies are classic for holidays, but mini chocolate chips, M&Ms, sprinkles, or even crushed shortbread cookies work beautifully.
How to Make It
Okay, let’s do this! It’s so simple, you’ll hardly believe it.
- Grab a nice big mixing bowl. You’ll want some room to work.
- Add the whole container of marshmallow fluff and the thawed Cool Whip to the bowl.
- Now, gently blend them together. You can use a spatula and just fold and stir until it’s super smooth and totally combined. If you’re feeling fancy or have a little helper who wants to use a mixer, a hand mixer on the lowest speed works too, but just for a few seconds until smooth. Be careful not to overmix!
- Once it’s a smooth, dreamy cloud of goodness, gently fold in your crushed candies. Use your spatula to carefully incorporate them so they’re spread throughout the mixture. Again, just mix until they’re distributed, don’t beat it. I find using a rubber spatula is perfect for this gentle folding action.
- Now, you need to get this mixture ready to firm up. You have a couple of options! You can line a small tray (like an 8×8 or even a loaf pan) with parchment paper – this makes cleanup and cutting a breeze! Pour the mixture in and spread it evenly. Or, you can use cute silicone molds if you have them. If you want to make balls, you can actually start shaping them now or wait until it’s partially chilled.
- Cover your tray or molds (plastic wrap works great) and pop it in the fridge for at least 1 hour. If you’re impatient (like I often am!), you can stick it in the freezer for about 20-30 minutes until it’s firm enough to handle or slice. The chill time is essential to get the right candy consistency.
- Once firm, if you used a tray, lift it out using the parchment paper and cut it into small squares or rectangles. If you opted for balls, now’s the time to roll the firm mixture into 1-inch balls using clean hands or a small cookie scoop.
- Arrange your beautiful little candies on a serving platter. Keep them chilled in the fridge until it’s time to share (or snack!).
Substitutions & Additions
This base recipe is like a blank canvas! Here are some ways to switch things up:
- Different Candies: The possibilities are endless! Try crushed Oreos, graham cracker crumbs, chopped nuts (pecans, walnuts), toffee bits, white chocolate chips, butterscotch chips, or even fruity pebbles for a fun twist.
- Add Extracts: A tiny splash of vanilla extract, almond extract, or peppermint extract (if using peppermint candies) can boost the flavor. Start with ¼ teaspoon and add more if needed.
- Color: Want festive colors? A drop or two of food coloring can transform the mixture before you add the candies.
- Coating: Instead of mixing candies in, you could roll the chilled balls in powdered sugar, cocoa powder, finely crushed cookies, or sprinkles!
Tips for Success
Keep these in mind for perfect Cool Whip Candy every time:
- Chill Time is Non-Negotiable: Don’t rush the chilling! It needs that time to firm up properly so you can cut or roll it.
- Don’t Overmix: Once the marshmallow fluff and Cool Whip are smooth, stop mixing. When you add the candies, just fold gently. Overmixing can deflate the Cool Whip and change the texture.
- Cool Whip Needs to Be Thawed (But Cold): Using it frozen won’t work, but using it at room temperature will make the mixture too soft. Thaw it in the fridge until it’s soft but still cold.
- Lining the Tray: Seriously, use parchment paper! It makes removing and cutting the candy effortless.
- Crushing Candies: The easiest way I’ve found is to put hard candies in a zip-top bag, seal it (pressing out the air), and gently but firmly hit it with a rolling pin or the bottom of a heavy mug.
How to Store It
These little gems need to stay cool!
- Store any leftover candies in an airtight container in the refrigerator. They’ll keep well for up to 3 days.
- For longer storage, you can freeze them for up to 2 weeks. Place them in a single layer on a small tray or plate in the freezer until solid, then transfer them to a freezer-safe airtight container or bag.
- When serving frozen candies, let them sit at room temperature for about 10-15 minutes before diving in. This brings back their wonderfully soft texture.
FAQs
Can I use homemade whipped cream instead of Cool Whip?
Unfortunately, no. Homemade whipped cream isn’t stable enough and will likely weep and not hold its shape like Cool Whip does. Cool Whip’s stabilizers are key to this recipe’s structure.
What’s the best way to crush hard candies?
Place them in a sturdy zip-top bag, squeeze out the air, and use a rolling pin or the flat bottom of a heavy pan to gently tap and roll over them until they are broken into small pieces. Don’t turn them into dust, you want little candy bits!
Can I double or triple the batch?
Absolutely! Just use a larger bowl and possibly a larger tray to chill the mixture. The chilling time might take a little longer for a thicker or larger batch.
Why is my mixture not firming up?
Make sure you used the correct ingredients (especially Cool Whip, not homemade whipped cream) and gave it sufficient time to chill in the refrigerator (at least 1 hour) or freezer (20-30 minutes). Ensure your freezer/fridge is at the correct temperature.
Seriously Easy 3-Ingredient No-Bake Cool Whip Candy
Ingredients
Equipment
Method
- Step 1: Grab a nice big mixing bowl. You’ll want some room to work.
- Step 2: Add the whole container of marshmallow fluff and the thawed Cool Whip to the bowl.
- Step 3: Gently blend them together. Use a spatula to fold and stir until it’s super smooth and totally combined. A hand mixer on the lowest speed can also be used briefly, but be careful not to overmix!
- Step 4: Once smooth, gently fold in your crushed candies using a spatula until they are spread throughout the mixture. Just mix until distributed, don’t beat it.
- Step 5: Line a small tray (like an 8×8 or loaf pan) with parchment paper, or use silicone molds. Pour the mixture in and spread evenly. If making balls later, the mixture can be shaped now or after partial chilling.
- Step 6: Cover the tray or molds (plastic wrap works great) and pop it in the fridge for at least 1 hour. For faster results, chill in the freezer for about 20-30 minutes until firm enough to handle or slice. The chill time is essential for the right candy consistency.
- Step 7: Once firm, if using a tray, lift the mixture out using the parchment paper and cut it into small squares or rectangles. If making balls, roll the firm mixture into 1-inch balls using clean hands or a small cookie scoop.
- Step 8: Arrange the candies on a serving platter. Keep them chilled in the fridge until serving.